
A sharp chainsaw cuts faster, safer, and extends equipment life. Professional arborists and weekend woodcutters face the same challenge: maintaining a properly sharpened chain. This guide covers everything from basic hand-filing techniques to advanced power sharpening methods. The knowledge here transforms your chainsaw from a dangerous, inefficient tool into a precision cutting instrument. Your chainsaw demands respect – maintaining its chain ranks among the most critical maintenance tasks you'll perform. This guide provides the knowledge to sharpen chains correctly regardless of your experience level.
1. Why Sharpening Your Chainsaw Chain is Crucial
A properly sharpened chain makes the difference between effortless cutting and dangerous struggles. The chainsaw should pull itself through wood with minimal pressure. When you find yourself forcing the saw through cuts, your chain needs attention.
Risks of a Dull Chainsaw Chain
Dull chains create serious hazards. When teeth lose their edge, the saw stops cutting efficiently, leading to increased friction, potential overheating, and producing more dust than wood chips. This forces operators to apply extra pressure, increasing kickback risk dramatically.
The dangers include:
- Increased kickback potential
- Greater operator fatigue
- Higher fuel consumption
- Engine strain and overheating
- Uneven, rough cuts
Safety risks multiply when operators compensate for dull chains by applying excessive pressure, potentially leading to kickback incidents, loss of control, or accidental injuries. This pressure creates unpredictable saw movement and reduces control precisely when you need it most.
Cost Savings: Sharpening vs. Replacing Chains
Professional chainsaw chains cost $20-45 each. However, if you regularly sharpen it, it will extend chain life substantially, often allowing 10+ sharpenings before replacement becomes necessary. This could be hundreds of dollars saved annually for frequent users.
Cost comparison reveals the truth: five minutes spent sharpening saves both money and time. A professional chainsaw sharpening service typically charges between $7-15 per chain. Learning to sharpen your own chains pays for itself almost immediately.
A single quality file costs under $10 and can sharpen chains multiple times, offering a cost-effective solution for those willing to invest time in the sharpening process. Even investing in a $200 electric sharpener proves economical for anyone who cuts wood regularly.

2. Types of Tools to Sharpen a Chainsaw Chain
The market offers numerous tools for chainsaw maintenance. Each option brings advantages and limitations depending on your needs, skill level, and budget.
Manual Sharpening Tools
File
The round file is one of the standard tools for field sharpening. Choose the correct file diameter for your chain based on the manufacturer's specifications, which typically include sizes such as 5/32", 3/16", or 7/32". Consult your chainsaw’s user manual for precise recommendations. Files offer portability, low cost, and precision when used correctly. The learning curve proves moderate, but once mastered, filing produces excellent results. Files are most effective for regular maintenance but can still be used on chains that have become severely dull, though it will require more effort. These devices hold files at preset angles to help reduce guesswork, but users must still ensure proper setup for optimal results.
Sharpening Stone
Stones refine edges after filing. These compact tools help remove burrs and maintain precise angles. They excel at touchups but lack speed for complete resharpening. Stones cost little and fit in your pocket, making them convenient field companions.
The limitation: Stones work slowly compared to other methods. They complement files rather than replace them.
Chain Sharpener
File guides and sharpening jigs provide angle consistency. These devices hold files at preset angles, eliminating guesswork. They range from simple $15 plastic guides to sophisticated $60 systems with multiple adjustment points.
Chain sharpeners bring precision but add setup time. They benefit beginners and those seeking perfect angle consistency. The downside: extra equipment to carry and set up.
Sandpaper
In emergency situations, sandpaper wrapped around a dowel can restore minimal cutting ability. This method serves as a last resort when proper tools remain unavailable. Wrap medium-grit paper around a dowel matching your chain's diameter.
The major limitation: The sandpaper removes metal slowly and can lead to inconsistent results, making it less effective than dedicated sharpening tools. However, it can still be useful as a last resort in emergency situations.
Knife Sharpener
Some multi-angle knife sharpeners adapt to chainsaw teeth. These tools provide convenient options for home users with limited space. The carbide or ceramic grooves must match your chain angle requirements. These sharpeners lack precision for professional use but serve casual users adequately. Their convenience makes them attractive for occasional sharpening.
Power Sharpening Tools
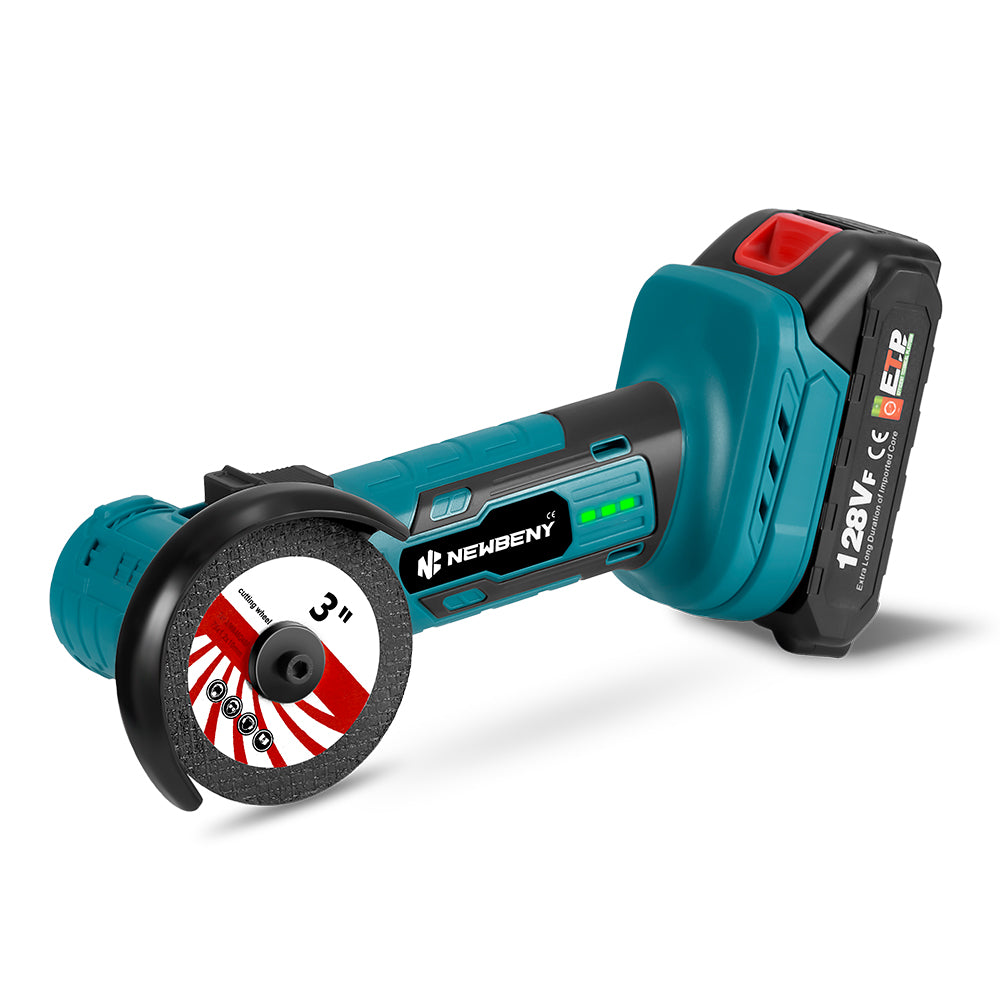
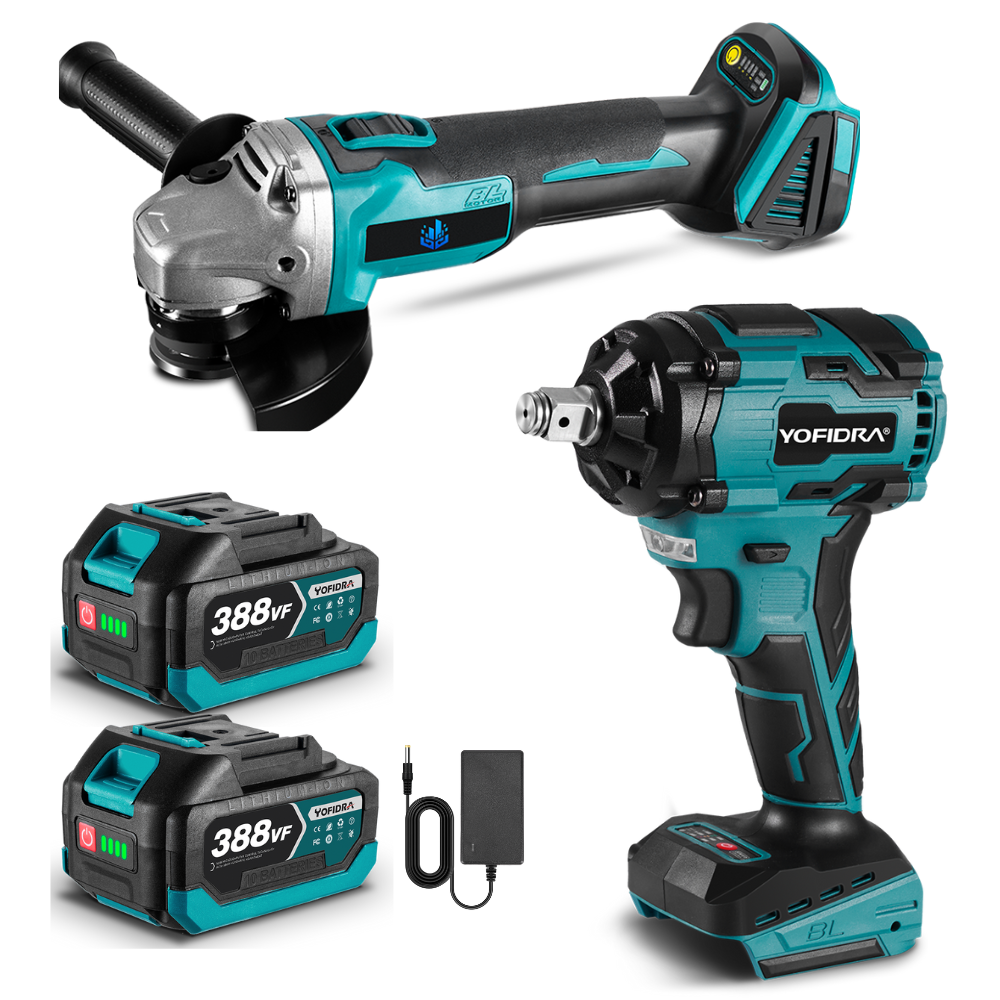
Angle Grinder
Angle grinders fitted with thin grinding wheels cut quickly through chain metal. Professional loggers use this method for speed. While the learning curve can be steep, with proper training and caution, angle grinders can be safely used for sharpening with good results.
These tools offer unmatched speed but sacrifice precision without considerable practice. Heat buildup creates another risk: overheated metal loses temper and dulls quickly. Use only when speed outweighs other concerns.
Dremel
Rotary tools with chainsaw sharpening attachments balance speed and control. Dremels accommodate small grinding stones that match chain profiles. The moderate speed prevents overheating while still cutting faster than files.
Dremels excel for home users needing occasional, quick sharpening. Their limitation: battery life in field settings and less precision than guided filing.
Electric Chainsaw Sharpeners
Bench-mounted electric sharpeners represent the gold standard for consistent results. These machines clamp chains securely and move precisely between teeth. Professional shops rely on these tools for their efficiency and repeatability. Electric sharpeners cost $100-300 but deliver unmatched consistency. The main drawbacks include portability limitations and initial setup complexity. They serve workshops better than field locations.
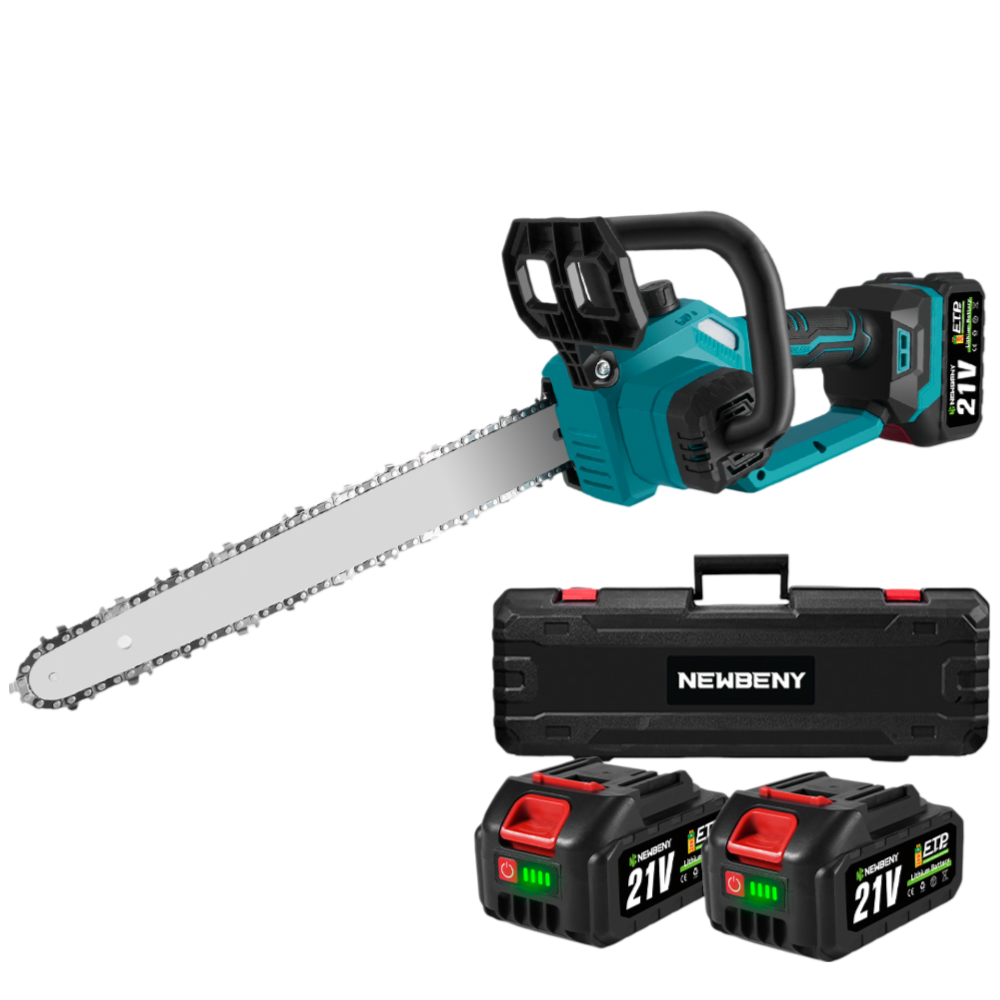
NewBeny 12-inch cordless chainsaw is a reliable and ensures exceptional maintenance. Automatic oiling maintains chain lubrication. Premium alloy chain stays sharp longer. Digital battery indicator prevents unexpected power loss.
Oscillating Multi-Tool
Modern oscillating tools adapt to chainsaw sharpening with specialized attachments. These versatile devices offer moderate speed with good control. Their design prevents overheating while removing material efficiently. Multi-tools shine in workshop settings where power sources remain available. They balance speed and precision while remaining more portable than bench sharpeners.

3. Step-by-Step Guide to Hand Sharpening
Using a File
- Secure your chainsaw in a vise or stable position with the chain brake engaged.
- Identify your chain type and select the correct file diameter
- Mark your starting tooth with a grease pencil
- Position the file at the correct angle (typically 25-35 degrees)
- Apply gentle pressure and push the file through each cutter
- Maintain consistent strokes – use the same number for each tooth
- File from inside outward with smooth, even pressure
- Check depth gauges (rakers) and file if necessary
- Clean the chain thoroughly after completing all teeth
The key to success: count your strokes and maintain identical pressure. Watch for shiny metal appearing on cutting edges – this indicates proper filing technique.
Using a Sharpening Stone
- Complete primary sharpening with a file first
- Hold the stone at the same angle used during filing
- Make light passes to remove burrs and refine the edge
- Use 3-5 passes per tooth
- Clean the chain thoroughly when finished
Stones complement files rather than replace them. Their strength lies in edge refinement after primary sharpening completes.
Using a Chain Sharpener
- Mount the chain sharpener according to manufacturer's instructions
- Set the angle guide to match your chain specifications
- Secure the file in the guide
- Position the guide on the chain
- Follow the built-in angle guides while filing
- Maintain consistent pressure across all teeth
- File depth gauges separately following manufacturer's recommendations
While chain sharpeners significantly reduce angle guesswork, they require users to have a clear understanding of their specific chains and careful setup to ensure optimal sharpening results. Match your sharpener to your specific chain type for best results.
Using Sandpaper
- Identify the correct diameter dowel for your chain
- Wrap medium grit sandpaper around the dowel
- Work the sandpaper through each cutting tooth
- Maintain the chain manufacturer's recommended angle
- Replace sandpaper frequently as it wears
This method serves emergency situations only. The results cannot match proper tools, but sandpaper can restore minimal cutting ability.
Using a Knife Sharpener
- Select the angle setting closest to your chain requirements
- Position the chain tooth in the appropriate groove
- Pull the tooth through the carbide or ceramic element
- Maintain consistent pressure and number of strokes
- Verify angles visually before continuing
Knife sharpeners provide convenience but sacrifice precision. They work best for light touch-ups between proper sharpenings.
4. Step-by-Step Guide to Power Tool Sharpening
Using an Angle Grinder
- Secure the chainsaw firmly in a vise
- Install a thin grinding wheel suitable for chainsaw sharpening
- Mark your starting point with a grease pencil
- Hold the grinder at the manufacturer's recommended angle
- Touch the wheel briefly to each tooth, 1-2 seconds maximum
- Move systematically around the chain
- Check for consistent angle and depth
- Address depth gauges separately using a flat file
Critical safety warning: wear eye protection and gloves. The angle grinder removes metal aggressively – mistakes happen permanently and instantly.
Using a Dremel Tool
- Install the chainsaw sharpening attachment or the appropriate stone
- Secure your chainsaw in a stable position
- Set the Dremel to medium speed (15,000-20,000 RPM)
- Position the stone at the manufacturer's recommended angle
- Apply the stone briefly to each tooth with light pressure
- Make 2-3 passes per tooth
- Check for consistency and adjust as needed
- Address depth gauges with a flat attachment
The Dremel advantage: control and moderate speed prevent overheating. The challenge: maintaining consistent angles without guides.
Using Electric Chainsaw Sharpeners
- Mount the electric sharpener securely to a workbench
- Set the angle guides according to your chain specifications
- Position the chain in the holding mechanism
- Lower the grinding wheel carefully to the first tooth
- Sharpen each tooth with brief grinding contact
- Advance the chain following manufacturer's instructions
- Complete the entire chain
- Check depth gauges and adjust as needed
Electric sharpeners deliver workshop-quality results consistently. Their precision justifies the investment for regular chainsaw users.
Using an Oscillating Multi-Tool
- Install the chainsaw sharpening attachment
- Secure your chainsaw firmly
- Set the tool to medium speed
- Position the attachment at the correct sharpening angle
- Make brief contact with each tooth
- Use consistent pressure and duration
- Work systematically around the entire chain
- Check your results visually for consistency
Multi-tools balance convenience and precision. They work well for home users wanting power assistance without investing in specialized equipment.
5. Chainsaw Chain Sharpening Maintenance
How Often to Sharpen Your Chainsaw
Sharpening frequency depends on usage conditions, such as the type of wood cut and the environment. As a general guide, sharpen your chain after every 3-5 hours of cutting softwood, more frequently for hardwood, and after shorter intervals for dirty or abrasive conditions. Clean cutting environments require less frequent sharpening than dirty conditions.
Usage-Based Schedule
Hardwood cutting demands more frequent sharpening than softwood. As a practical guideline:
- 3-5 hours cutting clean softwood = 1 sharpening
- 1-3 hours cutting hardwood = 1 sharpening
- 30 minutes-1 hour cutting dirty wood = 1 sharpening
Professional loggers often sharpen after each tank of fuel. This preventive approach maintains peak performance and reduces equipment strain.
Signs of Overdue Sharpening
Your chainsaw communicates when sharpening becomes necessary:
- Fine sawdust instead of wood chips
- The chain requires pressure to cut
- Cutting path wanders or produces uneven results
- Unusual vibration during operation
- Smoke appears even with proper lubrication
- Chain teeth show visible damage or dullness
When these signs appear, stop cutting immediately. Continuing with a dull chain creates safety hazards and damages equipment.
How to Extend Chain Lifespan
Proper maintenance multiplies chain life significantly. Simple practices preserve sharpness and structural integrity.
Lubrication Tips for Different Climates
Climate conditions affect lubrication requirements dramatically:
- Hot weather demands heavier oil to prevent thinning
- Cold environments require winter-grade bar oil to maintain flow
- Dusty conditions need tackier oil formulations that resist contamination
- Wet environments benefit from water-resistant lubricants
The key principle: match your lubricant to your operating conditions. Check oil flow visually before each use by running the saw briefly above a light surface – a proper oil stream should appear.
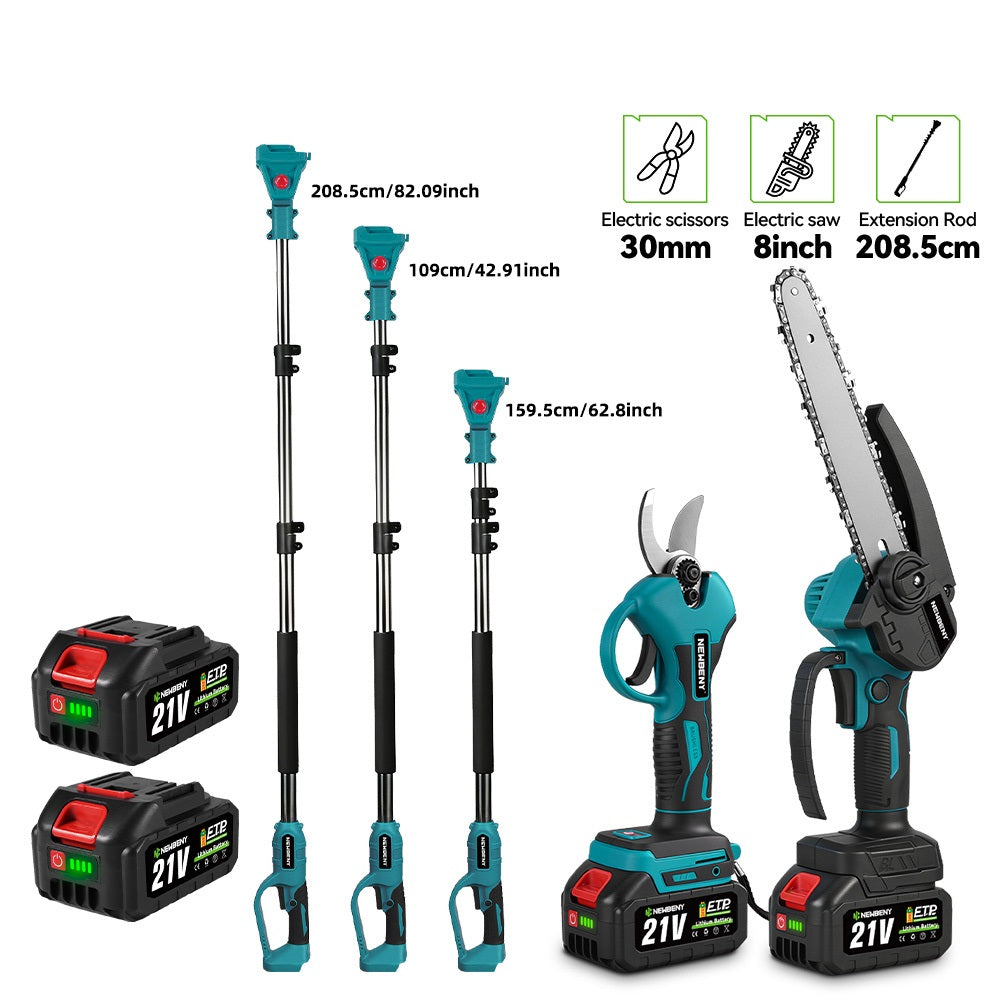
NewBeny 8 Inch & 6 Inch Cordless Chainsaw comes with interchangeable 6-inch and 8-inch bars. It has a built-in oil tank that ensures consistent chain lubrication. It also extends chain life between sharpening.
Winter Storage: Anti-Rust Coating Application
Chains rust quickly during storage without protection. Before extended storage:
- Clean the chain thoroughly with solvent
- Dry completely with compressed air
- Apply penetrating oil to all chain surfaces
- Wrap in oil-resistant paper
- Store in a climate-controlled environment
This protection prevents moisture damage during inactive periods. The small effort saves considerable money and extends chain life measurably.
6. Pro Tips and Troubleshooting for Chainsaw Chain Sharpening
Advanced Chainsaw Chain Sharpening Techniques
Salvaging Severely Damaged Chains
Chains with broken or severely damaged teeth require strategic intervention:
- Identify the worst damage and assess repair viability
- Remove minimal material to restore a proper profile
- Match angles precisely to undamaged sections
- Address depth gauges to maintain a consistent cutting depth
- Test cut on soft material before returning to regular use
Not all damage proves repairable. When tooth damage extends beyond the hardened surface, replacement becomes more economical than repair.
Sharpening Skip-Tooth Chains
Skip-tooth chains present unique challenges:
- Maintain proper tooth spacing during sharpening
- Pay special attention to gullet depth and cleaning
- Use specialized files matched to wider tooth spacing
- Address depth gauges proportionally to maintain cutting balance
- Test cutting performance in consistent materials
These specialized chains demand meticulous attention to angle consistency. Their performance depends heavily on proper sharpening technique.
Common Chainsaw Chain Sharpening Mistakes
Over-Filing and Angle Inconsistencies
The most frequent sharpening errors include:
- Removing excessive material from cutting teeth
- Inconsistent filing angles between teeth
- Uneven pressure application during filing
- Incorrect file diameter for chain type
- Filing in only one direction
These mistakes create cutting problems and shorten chain's life. The solution: use guides when possible and develop a consistent technique through practice.
Ignoring Depth Gauges: The Hidden Danger
Depth gauges control how deeply teeth bite into wood. When teeth get sharpened but depth gauges remain untouched, cutting performance suffers dramatically.
Proper depth gauge maintenance requires:
- Checking gauge height with a depth gauge tool
- Filing gauges to manufacturer specifications
- Maintaining rounded profiles on gauges
- Ensuring consistent height across all gauges
Overlooking this maintenance creates aggressive cutting behavior and dangerous kickback potential. Check depth gauges periodically, ideally every 2-3 sharpenings, but more frequently if cutting in harsh conditions or if you notice performance issues.
7. Conclusion
Chainsaw chain sharpening combines science and skill. The techniques outlined here transform this maintenance task from intimidating to straightforward. Regularly sharpening your chainsaw chain, along with practicing proper techniques and maintenance, preserves your investment and contributes to safer, more efficient cutting experiences. Start with simple hand tools and progress toward power methods as your confidence grows. Each sharpening session builds skill and understanding. The reward comes in smoother cuts, reduced fatigue, and extended equipment life. Remember that sharpening serves safety first and efficiency second. A properly maintained chain reduces accident risk while making your work more productive. The time invested in learning proper sharpening techniques returns dividends in performance and safety for years to come.
8. FAQs
Can You Sharpen a Chainsaw with a Drill?
Yes, you can incorporate special rotary sharpening attachments for drills exist. These adapters hold the correct size grinding stone at proper angles. However, you should use steady hands to avoid damaging teeth through excessive material removal.
Where Can I Get My Chainsaw Sharpened?
You can sharpen chainsaw at following places; Hardware stores, equipment dealerships, and professional lawn equipment shops. Costs range from $7-15 per chain with most services completed while you wait.
How Many Times Can You Sharpen a Chainsaw Blade?
A quality chain can typically withstand 5-10 complete sharpenings before replacement, but this can vary based on cutting conditions and material. Professional-grade chains can bear more sharpenings.