
Most mechanics have grabbed a chrome socket for an impact wrench at some point. Sometimes a regular socket can work without incident when used with an impact wrench. The problem is that without an incident, it isn't a reliable outcome — it depends on torque output, fastener resistance, and how much fatigue the socket has already accumulated. This guide covers why socket selection matters, how to install and remove sockets correctly, and what actually distinguishes impact-rated tools from standard ones.
1. Understanding Impact Wrench Sockets: What Makes Them Different?
What Are Impact Sockets?
Impact sockets are made from chrome-molybdenum steel. The key property of Cr-Mo is ductility under shock loading — when subjected to sudden force, it deforms slightly before fracturing. That elastic behavior absorbs the repeated stress spikes that impact wrenches generate.
Wall thickness is substantially greater than standard sockets. The added material isn't just for structural mass; rather, it is specifically distributed to effectively handle both torsional stress and the hoop stress that occurs when the tool hammers against a fastener under load.
The black oxide or manganese phosphate finish on impact sockets serves a functional purpose. It's more porous than polished chrome, which means it retains oil better in shop environments where corrosion is a constant factor.
What is the Difference Between Impact Sockets and Regular Sockets?
Standard sockets use chrome-vanadium steel — harder than Cr-Mo, and more brittle. For hand tools applying slow, sustained torque, the hardness of chrome-vanadium steel is beneficial, but it can lead to brittleness under high-stress conditions. Under the cyclic impact loads of a pneumatic or cordless impact wrench, the brittleness becomes a structural problem.
The wall thickness difference is measurable. On a ½" drive, 19mm socket: an impact version typically has walls 30–40% thicker than its chrome equivalent. That gap in geometry translates directly into fatigue resistance.
|
Property |
Impact Socket |
Regular Socket |
|
Material |
Chrome-Molybdenum |
Chrome-Vanadium |
|
Wall Thickness |
Thicker walls to absorb vibration |
Thinner walls for tight spaces |
|
Finish |
Black oxide or phosphate (industrial) |
Polished chrome |
|
Behavior Under Shock |
Ductile: Flexes slightly to prevent shattering |
Brittle: Harder but prone to cracking under high torque |
|
Designed For |
Impact wrenches and power tools |
Hand torque and ratchets wrenches |
Why Using the Right Socket Matters for Impact Wrenches
The issue goes beyond just immediate breakage. Repeated use of a chrome socket on an impact wrench can cause invisible micro-fractures to develop over time. Although the socket may appear functional during inspections, it can suddenly fail during a high-torque application — leading to problems far more serious than simply replacing the socket.
2. Can You Use Regular Sockets with an Impact Wrench?
Increased Risk of Socket Breakage
Impact wrenches operate through hammering mechanisms — an internal anvil strikes in rapid rotational bursts rather than applying continuous torque. Each strike creates a stress spike. Chrome-vanadium steel, being harder and less ductile, is not rated for this load type. Under sufficient torque — particularly from a ½" or ¾" drive impact wrench — a standard socket can crack.
Low-torque work with a small ⅜" drive tool carries a lower risk, but the material mismatch remains. The threshold for failure depends on various unpredictable factors during use.
Accelerated Wear on Sockets and Fasteners
Even without an outright fracture, the internal hex geometry of a chrome socket degrades faster under impact cycling than an impact socket would. Once the internal hex profile becomes rounded, the socket can no longer grip the fastener securely. The result is slippage, which rounds the fastener head. A socket compatibility issue can escalate into difficulties when attempting to extract a damaged fastener.
Safety Hazards To the Operator
Socket failure under load produces fragments. The level of risk varies based on torque output, the socket's material condition, and the operator's proximity. This is the primary reason tool manufacturers explicitly prohibit chrome sockets on impact tools — the failure mode is sudden, and the fragments travel at speed.
Potential Damage to the Impact Wrench
Standard sockets can also stress the drive anvil. Geometry mismatches between the socket's drive recess and the anvil's square can create uneven loading. Over time, this wear pattern affects the retaining mechanism and the anvil surface itself — components that are expensive to repair on quality impact wrenches.
Reduced Efficiency and Poor Performance
Beyond safety, the practical output suffers. A socket that doesn't seat precisely on the drive anvil dissipates some energy as vibration rather than transferring it as torque. If you're trying to hit a specific torque value or break loose a seized fastener, the socket fit directly affects results.
3. How to Properly Install Sockets on Your Impact Wrench
Step 1 – Select the Correct Socket Type and Size
Confirm impact rating (black finish, Cr-Mo construction) and verify the socket size matches the fastener exactly. A socket that's even slightly oversized will slip on the fastener corners under load. For critical fasteners — lug nuts, suspension hardware, head bolts — there's no acceptable approximation.
Step 2 – Prepare Your Impact Wrench
Pneumatic Impact Wrench: Disconnect the air hose. Apply two or three drops of air tool oil to the inlet if it's been in extended use — most pneumatic impact wrenches require this regularly, or the internal hammer mechanism wears prematurely. Confirm that the operating pressure is within the tool's rated range, which is 90–120 PSI.
Corded Impact Wrench: Unplug from the outlet. Inspect the electrical cord at both ends for any signs of wear or damage, particularly at the strain relief points where insulation is most likely to crack.
Cordless Impact Wrench: Power off and remove the battery pack. Switching off is not sufficient isolation; you must remove the battery also.
Step 3 – Attach the Socket to the Drive
Identify the drive size. Most automotive and shop work uses ½" drive; ⅜" handles smaller fasteners in tighter spaces; ¼" is for light assembly work. Industrial applications use ¾" or 1" drive.
Pull back the retaining collar on the anvil, seat the socket squarely on the drive square, and release. The socket should engage positively — you should feel or hear it seat. Pull it firmly outward after engagement to confirm it holds.
On pneumatic tools, check the O-ring on the anvil. This rubber ring adds friction retention. If it's cracked or absent, the socket is more likely to disengage under vibration — replace the O-ring before use.
Step 4 – Confirm Correct Orientation and Socket Security
The socket should sit flush with no visible tilt or wobble. Any movement at the drive interface means either the wrong socket size, a worn drive anvil, or a damaged socket drive recess. Address the cause rather than proceeding with a loose fit.
Pneumatic models: Many use an O-ring on the anvil to help secure the socket in place alongside the detent mechanism. Locate it at the base of the square drive and confirm it's intact, seated in its groove, and not cracked or flattened from wear. A degraded O-ring won't hold the socket reliably under vibration, even if the detent engages correctly.
Corded and cordless tools: Confirm the quick-release mechanism has fully re-engaged after socket installation. On some designs, the collar can appear seated while only partially locked — a firm check pull on the socket after release confirms actual engagement rather than assumed engagement.
Step 5 – Test at No Load
Before putting the tool to work on an actual fastener, a brief no-load test takes seconds and confirms the socket is seated correctly.
Pneumatic Impact Wrench: Open the air supply and run the wrench briefly at low speed with no fastener engaged.
Corded Impact Wrench: Plug in and trigger at the lowest setting.
Cordless Impact Wrench: Insert the battery and run briefly.
Listen and watch during this test. Rattling, uneven vibration, or any visible movement at the socket-to-anvil interface means the socket isn't fully secured. A properly fitted socket runs clean with no lateral movement. If any irregularities are detected, immediately power down the tool, disconnect it from its power source, and thoroughly re-check the installation before proceeding.
Step 6 – Remove and Replace Sockets Safely
Disconnect the power source completely before touching the socket — air hose, power cord, or battery pack. Don't skip this between socket changes, even on quick swaps.
With the tool isolated, depress the retaining collar or ring and slide the socket straight off the anvil. Pull axially angled removal puts unnecessary stress on the retention groove. If the socket resists, check that the mechanism is fully released before applying more force.
Always store sockets in a dedicated rail or protective case to prevent damage. Contact with other tools in an unsorted drawer gradually damages the drive's square corners — damage that affects fit and retention on every subsequent use.
4. How to Get a Socket Off an Impact Wrench
Step 1 – Ensure The Tool is Powered Off and Safe to Handle
Pneumatic Impact Wrench: Disconnect the air hose and bleed residual pressure at the tool.
Corded Impact Wrench: Unplug from the main switch to avoid any electric shock.
Cordless Impact Wrench: Remove the battery. Proceed only after the power source is fully disconnected.
Step 2 – Identify the Socket Retention Mechanism
Four common systems:
- Detent pin: A spring-loaded wire ring that clips into a groove on the socket's drive recess. Release by pulling back a collar or ring on the anvil.
- Friction ring / O-ring: A rubber ring on the anvil that holds through friction only. No collar mechanism — pull the socket directly.
- Quick-release collar: A spring-loaded sleeve that releases the socket when depressed or pulled. Common on mid-range and professional cordless tools.
- Through-pin: Less common; a pin passes through the anvil and a hole in the socket. Requires a specific removal procedure per manufacturer.
Step 3 – Release the Retaining Mechanism
Pneumatic Impact Wrench
Most pneumatic tools use a retaining ring or spring-loaded collar. Grip the collar firmly and pull it back toward the tool body. This compresses the spring and disengages the detent from the socket groove. Hold it back while removing the socket; releasing early re-engages the lock.
Corded Impact Wrench
Corded tools commonly use a quick-release sleeve or collar. Depending on the design, you'll either pull the sleeve back or rotate it a quarter turn to unlock. Check the tool because some models require a press-and-turn motion rather than a straight pull.
Cordless Impact Wrench
Cordless tools typically use a pin or spring-loaded sleeve at the anvil. Pull the sleeve back or press the release button per the manufacturer's instructions. On some models, the release button is recessed into the collar — use a fingernail or small tool to depress it cleanly.
Step 4 – Remove the Socket
With the retaining mechanism held in the released position, pull the socket straight off the drive anvil. Keep the pull axial — pulling at an angle loads the anvil asymmetrically and can deform the retaining groove over time.
If the socket doesn't slide off cleanly:
- Check that the retention mechanism is fully released, not partially engaged.
- If rust or debris is binding the socket to the anvil, apply penetrating lubricant at the socket-to-anvil interface and let it soak for a few minutes. Work the socket with a controlled rocking motion while maintaining outward pressure.
- Keep lubricant away from the tool's air inlet, trigger mechanism, and motor housing — contamination in those areas causes its own problems.
Step 5 – Inspect and Clean the Drive and Socket
After removal, examine both components. Look for rounded corners on the socket's external drive square and on the anvil. Check the retaining groove on the anvil for deformation. A worn anvil won't retain sockets reliably regardless of which socket you install.
Clean both surfaces with a lint-free cloth. If there's compacted debris or light corrosion on the anvil, a mild solvent on a cloth clears it without damaging the surface.
Step 6 – Store or Replace Sockets Properly
Sockets go back on the rail or in the case. Any socket showing cracks, rounded drive corners, or deformation of the hex cavity gets replaced — not returned to service.
One rule that applies regardless of how long you've owned a socket: only return impact-rated sockets to impact wrench service. If a chrome socket ended up in the mix at some point, this is the time to remove it from the impact socket storage.
5. Advantages of Using a Cordless Impact Wrench with Correct Impact Sockets
Modern brushless cordless impact wrenches at 18V/20V deliver torque outputs in the 500–700 ft-lb range — figures that were only achievable with pneumatic tools a decade ago. Using these tools with chrome sockets can compromise safety and reduce performance, particularly in high-torque applications.
Enhanced Portability and Convenience Without Compromising Power
No compressor, no hose, no cord. Cordless impact wrenches with a complete impact socket set handles automotive, construction, and maintenance work without infrastructure dependencies.
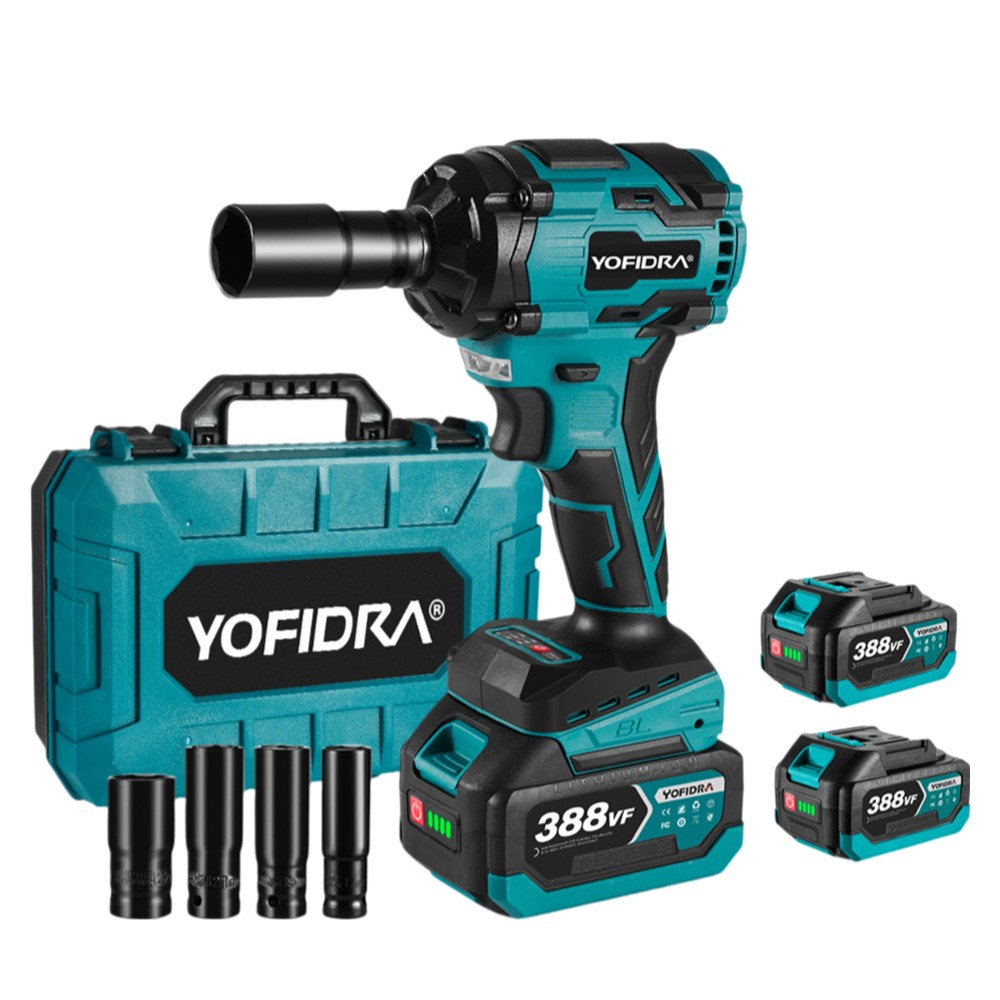
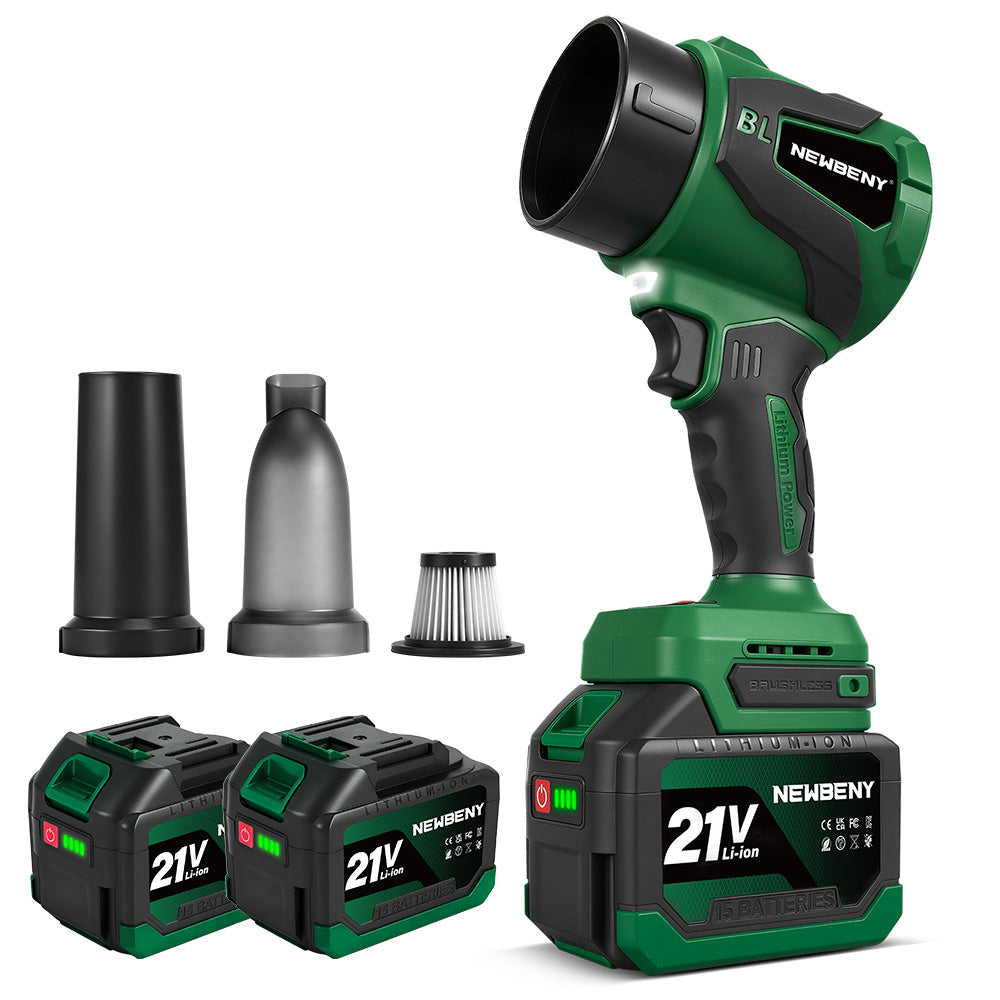
Tools like the NewBeny 1200N.m Cordless Impact Wrench push that ceiling further — 1200N.m in a cordless format that requires no compressor or outlet.
Benefits of Lithium-Ion Battery Technology for Extended Use
Lithium-ion batteries with brushless motors maintain consistent torque output across most of the discharge cycle. Older NiCd platforms degraded progressively as they discharged, which affected torque accuracy on critical fasteners. That inconsistency is largely eliminated in current-generation tools.
Flexibility in Various Applications: Automotive, Construction, DIY
Automotive
Lug nuts, brake caliper bolts, suspension hardware, and exhaust fasteners. A ½" drive cordless tool handles the torque requirements for most passenger vehicle work. Tight spaces around suspension components benefit from the absence of a hose or cord, adding drag and limiting tool positioning.
Construction
Structural bolts, timber framing hardware, and heavy equipment assembly. Here, the torque output of current cordless tools is particularly relevant — structural applications often require 400+ ft-lb, which older cordless platforms couldn't reliably deliver. Current brushless tools meet this without a compressor on site.
DIY and maintenance
Deck building, equipment repair, and general fastener work around a property. For intermittent use, a cordless impact wrench with a modest socket set handles the full range of tasks a homeowner or small workshop encounters. The tool doesn't need to be sized for industrial use — matching it to the actual application and pairing it with appropriate impact sockets is sufficient.
6. How to Maintain Impact Sockets and Impact Wrenches?
Regular Inspection for Wear and Damage
Before significant use, check drive corners on the socket exterior and hex geometry on the interior. Rounded external corners indicate the socket has been transmitting force unevenly — this accelerates both anvil wear and fastener damage. A rounded internal hex means the socket is approaching the end of its useful life.
Impact wrenches need periodic inspection of the anvil surface and retaining mechanism. If the retention doesn't engage positively or if the anvil shows visible deformation, the tool needs service before further use.
Cleaning and Lubrication Tips
Wipe sockets after use — especially the internal hex cavity where metal shavings and moisture collect. Light machine oil on the exterior prevents rust on the black oxide finish, which is not as corrosion-resistant as it appears in dry conditions.
Pneumatic wrenches require two to three drops of air tool oil through the inlet regularly; if used weekly, daily oiling is typically necessary, so consult the tool manual for specific guidance. Neglecting this is the most common cause of premature pneumatic tool failure. Cordless and corded tools need the anvil area cleared of debris periodically.
Correct Storage and Avoiding Contamination
Socket rails and cases protect the drive's square geometry. Sockets stored loose sustain damage from contact with other tools — small nicks and dings accumulate until the drive interface no longer fits cleanly on the anvil.
When to Replace Sockets
Replace on: visible cracks anywhere on the body, rounded drive corners (external or internal), any socket that has been used on an impact tool while visibly damaged, or any socket where the hex cavity no longer fits snugly on the target fastener size. There's no fixed interval — inspection determines replacement, not a calendar.
7. Conclusion
Ultimately, understanding the differences in material behavior under shock loading is crucial to ensuring the safe and effective use of impact wrenches and their sockets. Chrome-vanadium sockets are engineered for hand tools. Chrome-moly impact sockets are engineered for the specific stress profile that impact wrenches generate. Using the wrong socket type doesn't just risk the socket — it risks the fastener, the anvil, and, in failure scenarios, the operator.
Always ensure that the tool is completely disconnected from its power source before installing sockets. Know the retention mechanism on your specific wrench. Inspect regularly. Replace on wear, not on schedule. Implementing these practices ensures the reliable operation of impact wrenches over time.
8. FAQs
How do I know if a socket is rated for impact use?
Black finish (oxide or phosphate) and explicit impact-rated marking on the packaging or socket body. A chrome finish indicates the socket is designed solely for hand tools, not for impact use.
What drive size should I choose for my impact wrench?
½" drive for automotive and general heavy shop work. ⅜" for smaller fasteners and confined spaces. ¼" for light assembly. Match drive size to the torque output of the tool — a ¾" drive tool paired with a ⅜" adapter creates a stress concentration at the adapter.
Are cordless impact wrenches suitable for heavy-duty jobs?
Current brushless 18V/20V tools are. Verify the tool's rated torque output against the application requirements before relying on it for structural fasteners or critical automotive work.
How often should I replace my impact sockets?
No fixed schedule. Inspect after every significant use session and replace according to visible wear criteria. Professional daily use may mean annual replacement. Occasional use can mean sockets last many years if stored correctly.
Can impact sockets be used on a torque wrench?
Yes. Impact sockets are compatible with torque wrenches, ratchets, and breaker bars. The reverse — chrome sockets on impact tools are what create the problem.
Can I use Chrome sockets on an impact wrench?
Not recommended. Chrome-vanadium steel is brittle under cyclic impact loads. The failure mode is cracking, and it occurs without reliable warning signs during normal visual inspection.
Can you use an impact socket on a regular wrench?
Yes, without issue. Impact sockets are overbuilt for hand-tool use but fully compatible. Using one on a torque wrench or ratchet causes no problems.
Do impact wrenches need special sockets?
Yes. Impact-rated sockets with Cr-Mo construction and thicker walls are the correct tool. Standard chrome sockets are not rated for impact use, regardless of the torque level involved.