
Keeping your pruning shears clean is just as important as keeping them sharp. According to experts, a dull tool harms plants, but a dirty tool spreads disease. Clean shears mean effective gardening and healthy plants. Understanding the importance of tool hygiene is fundamental to successful gardening.
You want to know how to clean pruning shears to promote tool life. Dirty, sticky tools require much more force, leading to uncomfortable, sluggish work.
1. Why Should You Clean Pruning Shears
You must learn why tool hygiene is necessary. There are like four important reasons you should clean your pruning shears.
Prevent Plant Diseases and Cross-Contamination
Cleaning your pruning shears is essential to preventing plant diseases. As you cut a diseased branch, the sap and pathogen stick to the blade. Then, if you use the same tool on a healthy plant, you transfer the sickness. How do you clean pruning shears to stop this? You disinfect them after every contact with known sick plants.
Prolong the Life of Your Tool
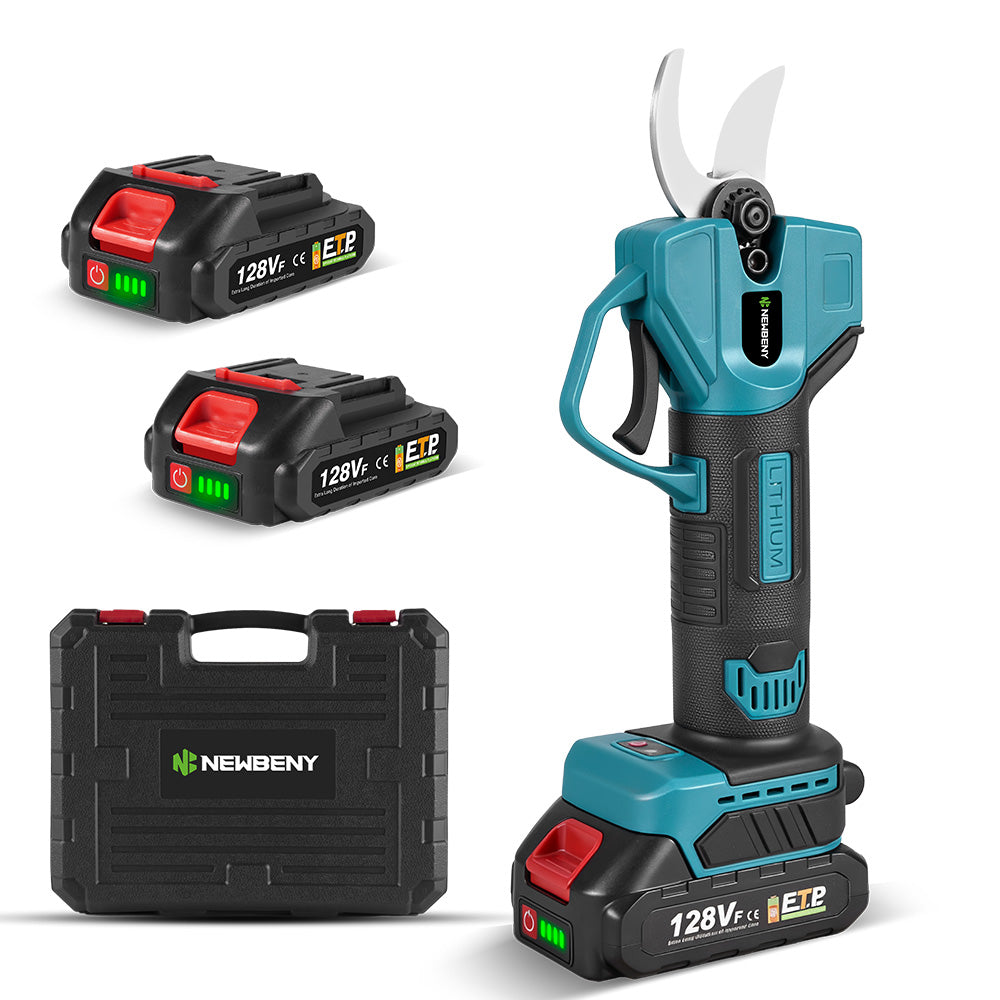
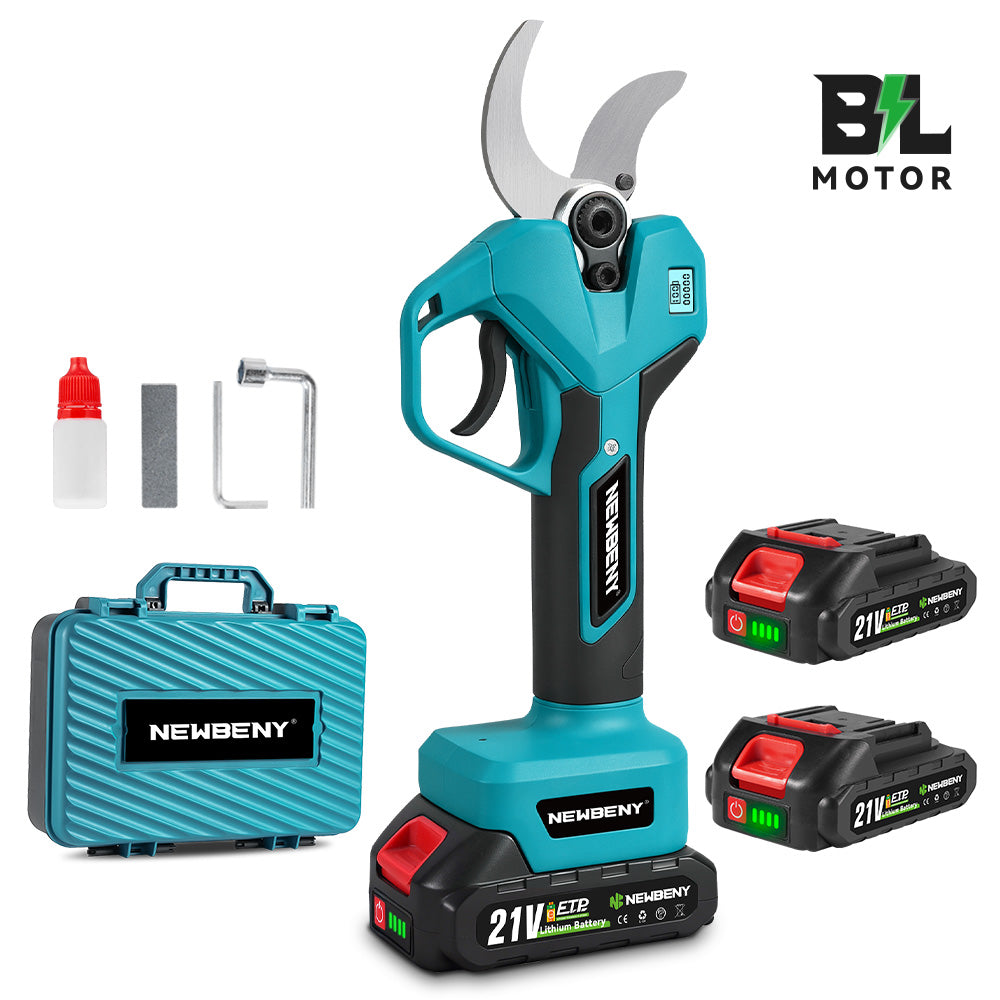
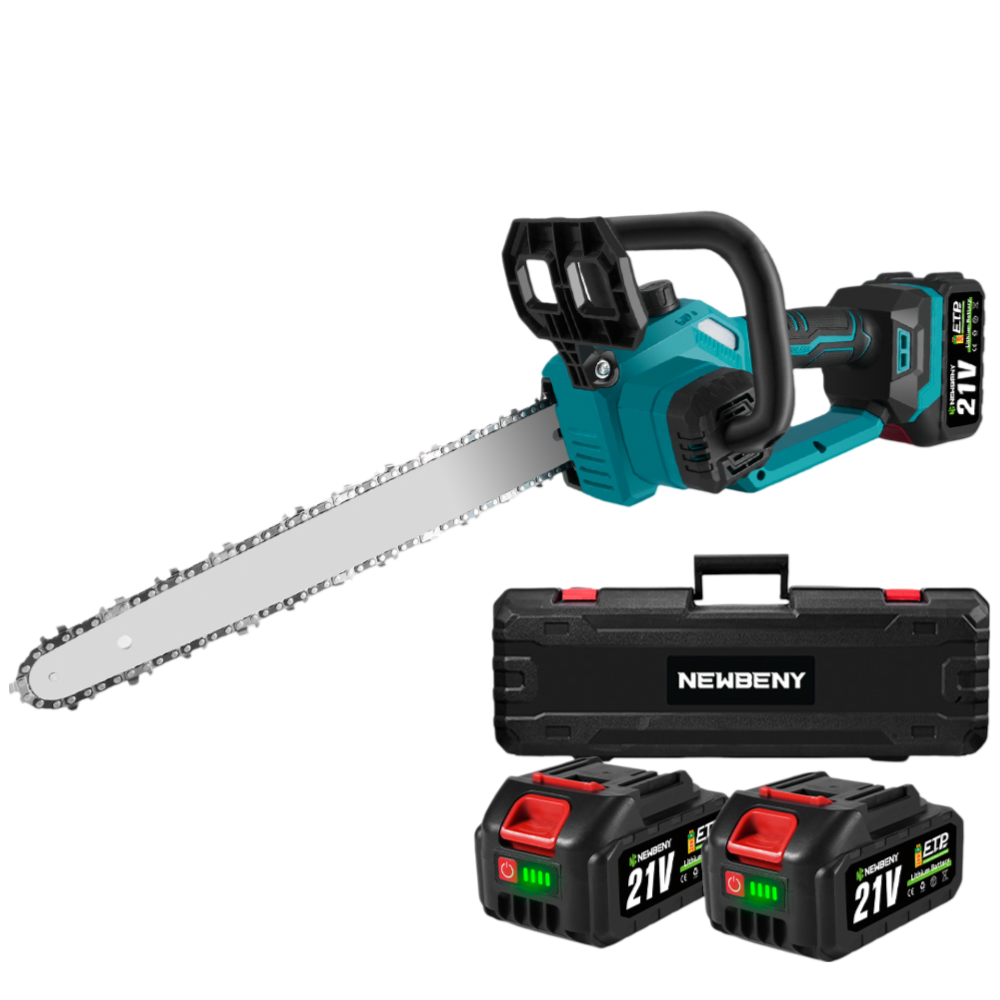
Furthermore, sap, dirt, and moisture are major reasons behind rust and corrosion. For example, rust will damage the metal. This deterioration ultimately compromises the tool's effectiveness. Cleaning prevents this deterioration. Proper cleaning and lubrication of pruning shears can significantly extend their lifespan. For example, the NewBeny 30mm brushless cordless pruning shears can be maintained in this way to extend their lifespan. It incorporates high-carbon steel and offers quiet operation.
Maintain Cutting Performance and Precision
Dirt and dried sap create friction on the blades and pivot point. This slows down the cutting action. Consequently, the blade struggles to slide cleanly. This results in crushed, poor cuts. A clean tool glides easily, ensuring optimal cutting precision.
Improve Safety and Comfort During Use
A tool gummed up with grime requires excess strain from your hands. This increases physical effort. When you ask how to clean your pruning shears, you are asking how to make your work easier and safer.
You need a final light machine oil or specialized tool oil. This is the last item you need. This protects the cleaned metal from immediate re-rusting.
2. Tools and Materials Needed for Cleaning
To begin, you must gather the correct equipment.
Soft cloths and brushes
What will work for wiping and scrubbing? Soft cotton rags, such as old T-shirts. A toothbrush or small nylon brush to reach tight places, particularly around the pivot bolt. A brass wire brush can also be used for really tough, caked mud. Yet, avoid stiff steel brushes on the cutting edge.
Warm water and mild detergent
Using dish soap is good for this purpose. This cuts through common dirt and grime effectively. You need a bucket or basin large enough to submerge the pruning shears if you plan to soak them briefly.
Safety gloves and eye protection
You should always wear proper safety gloves to protect your hands from the blade’s sharp edges. Even merely scrubbing can cause accidental cuts. They also provide eye protection against splashes that may occur when using cleaning chemicals, such as bleach. Wearing protection from the danger of fact through, say, dried sap, ragged rust flakes, too.
Cleaning Solutions:
-
Rubbing alcohol
Use the alcohol straight for easy application.If you prefer bleach, use a 1:9 bleach-to-water solution for effective disinfection. You must never mix these two chemicals.
-
WD-40 or other penetrating oil
You use WD-40 to displace moisture and free stuck parts. It is advisable to spray WD-40 into the pivot point to break up accumulated residue before scrubbing.
-
Steel wool or fine-grit sandpaper
Steel wool works well for removing surface rust. Use 0000 grade steel wool or fine-grit sandpaper, 400 grit or higher. This allows you to clean rust effectively without scratching the underlying metal.
-
Sap remover or mineral spirits
Use a sap remover for stubborn sap. Sap mineral spirits are effective at dissolving resinous tree sap that detergents cannot handle. You must use these in a well-ventilated area.
-
Lubricating Oil
You need a final light machine oil or specialized tool oil. This is the last item you need. This protects the cleaned metal from immediate re-rusting.

3. Step-by-Step Guide: How to Clean Pruning Shears
You need to follow these steps sequentially to get the best results.
Step 1- Disassemble Your Pruning Shears
First, you need to disassemble your pruning shears This is often the best method for a deep clean. Manual bypass shears usually have a pivot bolt or screw. Taking the blades apart allows you to reach all surfaces and the inner pivot point. If disassembly is not possible, open the shears as wide as they will allow.
Step 2- Remove Sap, Dirt, and Debris
It is important to scrub your entire tool, especially the blade and pivot areas, with warm water and soap, using a brush or cloth to remove loose debris. If sap remains, try rubbing alcohol or specialized sap cleaners. Never let soap water dry on the tool, as this can cause rust.
Step 3- Disinfect to Prevent Disease Spread
After that, you must disinfect to stop the spread of disease. You prefer to use 70% isopropyl alcohol or the diluted bleach solution. You will use 1 part bleach to 9 parts water. Next, you will clean the blades thoroughly or soak them for about thirty seconds to one minute. If you ask what to clean pruning shears with for disease, these are the best disinfectants. When using chemicals, always rinse immediately afterward if bleach is used, and then dry completely.
Step 4- Remove Rust and Corrosion
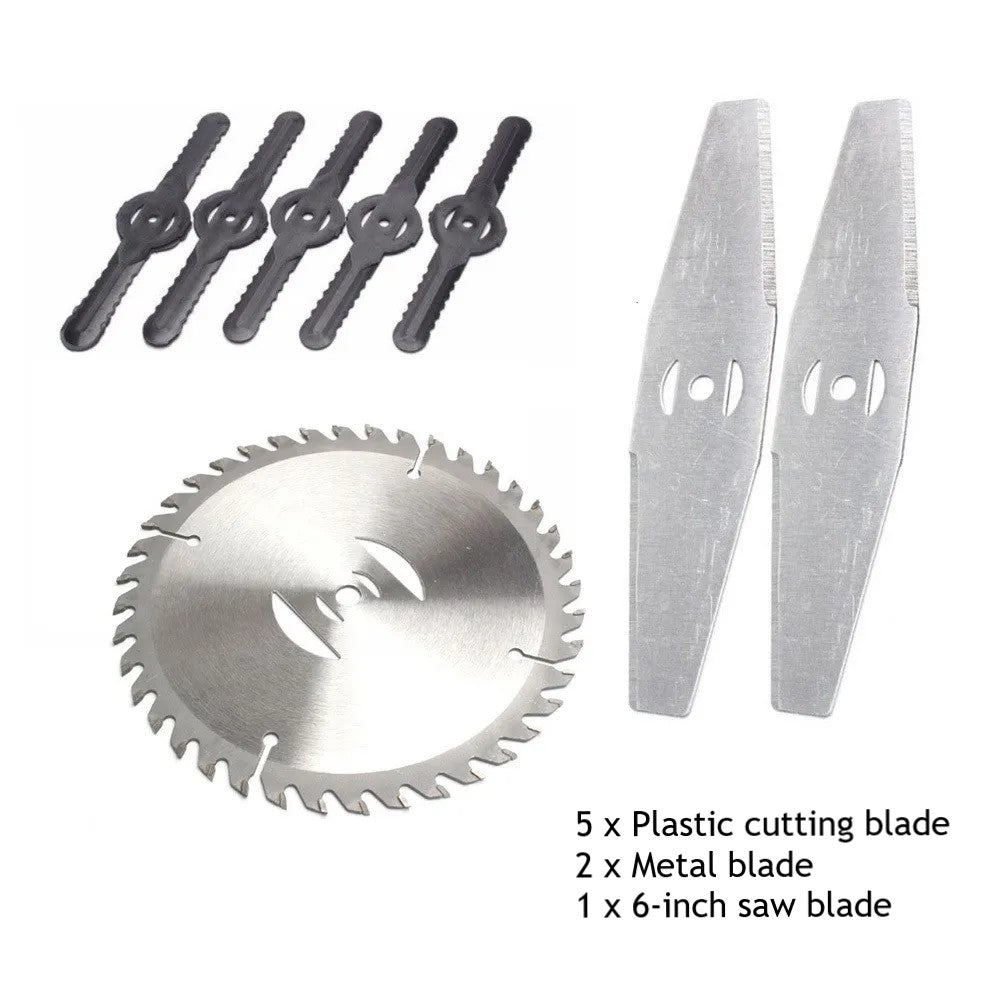
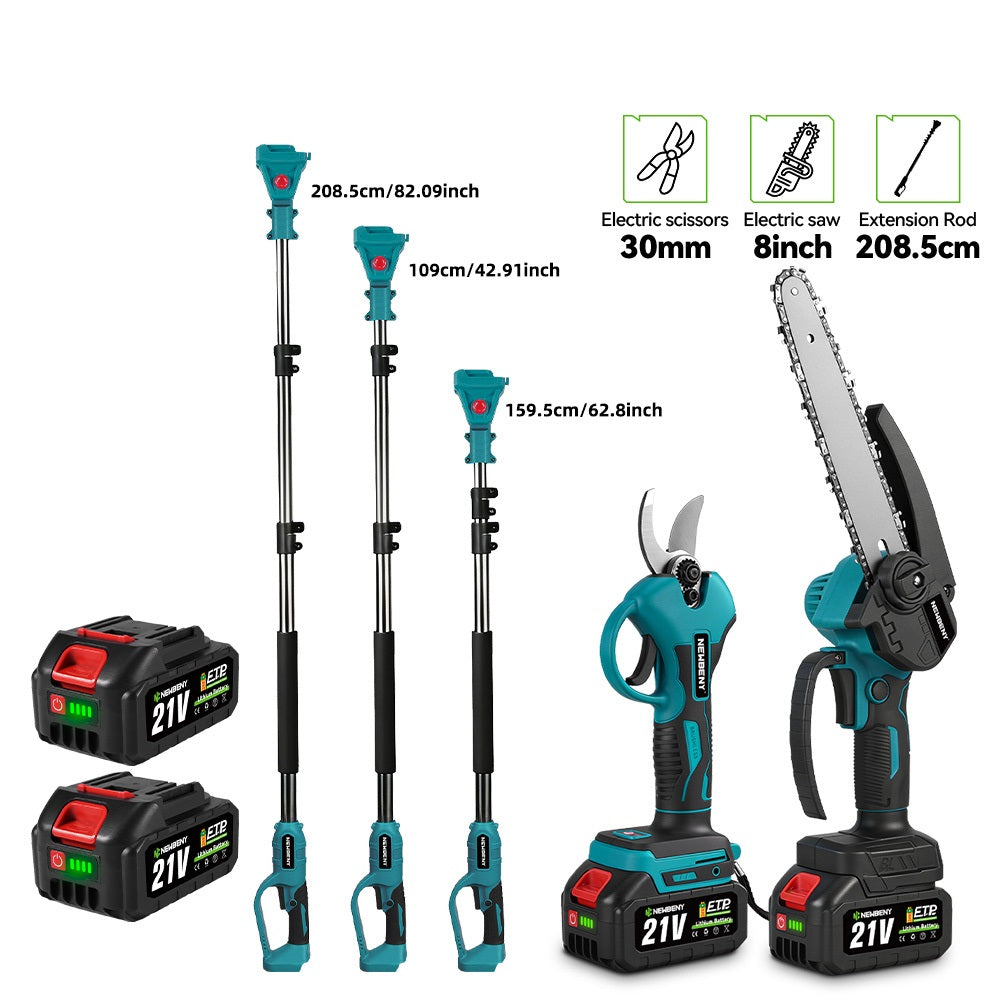
Then, address any rust spots. Use steel wool or fine-grit sandpaper. Rub only the rusted area gently. The best option is to use the finest-grit sandpaper to avoid damaging the blade's geometry. For example, incorporate the fine grit for light cleaning and restoration on quality tools like the NewBeny 45mm Brushless Battery Powered Pruning Shears. A replacement will be necessary if corrosion is excessive and the blade shows signs of structural damage.
Step 5- Dry Thoroughly and Lubricate Moving Parts
After a while, you must dry the tool completely. Any remaining moisture facilitates the formation of rust more quickly. Use a clean, dry cloth. Next, apply a light machine oil or specialized tool oil to all metal parts. This includes the blades, the screws, the springs, and the pivot area.
Step 6- Reassemble and Perform a Functional Check
Finally, make sure to reassemble the pruning shears. Reattach all parts, ensuring proper blade alignment. Then, test the cutting action and the pivot tension adjustment. The pruning shears should open and close freely. They should also cut paper or a thin branch cleanly.
4. Maintenance Tips to Keep Pruning Shears Cleaner Longer
Adopting simple maintenance habits is crucial. This extends the time between major cleanings.
Wipe Down Shears After Every Use
You prefer to wipe down your pruning shears after every use. Use a cloth dampened with alcohol. This removes fresh sap and debris quickly. You must carry the cloth with you in the garden. Doing so allows you to clean the blades immediately after cutting. This keeps the tool clean until the next use.
Apply Lubrication Regularly
You must regularly apply a light film of lubricating oil. This is especially true before storing them for any length of time. The oil provides a protective barrier against moisture and air. You should focus specifically on the pivot point and the blade's cutting edges. Applying oil stops the strange overnight rust appearance.
Store Shears Properly
Store your pruning shears in a dry place. You do not want them exposed to high humidity. A locked shed or drawer works well. You would rather hang them up if possible. Keeping them off the floor avoids contact with damp concrete or soil.
Avoid Cutting Wet or Hard Materials When Possible
Wet or hard materials dull the blade quickly and introduce moisture. You would rather cut dry, live wood whenever possible. Do not use pruning shears to cut wire or thick, dead branches. Using the wrong tool for the job causes immediate nicks and bending.
Schedule Periodic Deep Cleanings
Furthermore, schedule a deep cleaning, including full disassembly and rust removal. Do this at least once or twice per gardening season. For example, clean them thoroughly at the beginning of spring and again at the end of the gardening season. This stops rust from setting in over the long rest period.
5. Conclusion
You now know how to clean pruning shears step by step. This systematic effort is crucial. A clean tool ensures plant health and significantly prolongs the life of your valuable equipment. Furthermore, clean pruning shears make your gardening work easier. They require less effort from your hands, providing more comfort. Generally, we prefer the efficiency of sharp, sanitized tools. The routine maintenance helps ensure your tools last significantly longer when properly cared for.
6. FAQs
Can household cleaners substitute for pruning shears and specialty products?
Mild dish soap works very well for regular cleaning. You can also clean with rubbing alcohol. Household products are completely fine for most cleaning tasks. You can start by cleaning dirt. Use a small brush with a mix of dish soap and warm water. This cleans the tool's surface. Next, clean the blades with bleach or rubbing alcohol. This kills plant pathogens and prevents the spread of disease between your plants.
Is it possible to clean pruning shears with Clorox wipes?
You can use alcohol wipes to clean the blades, but you must apply oil to them after each use. These wipes disinfect surfaces very fast. However, the cleaning chemicals will clean the protective oil on the metal. After using the wipes, make sure the pruning shears are completely dry. Then apply a thin layer of mineral oil to the blades. This will stop rust from forming and help the blades move easily.
Can soaking damage pruning shears?
Soaking the pruning shears for too long, especially in bleach solution or water, can severely damage them. This causes the metal to get rusty very quickly. You must only soak the tools for one minute. Even a small amount of water can damage the steel, harming the springs and blades. Strong cleaners like bleach are very harsh and damage protective layers when the metal remains wet for too long. It is recommended to spray cleaner on the blades or dip them for 30 to 60 seconds. You will take out the pruning shears and wipe them with a clean cloth. Then put a little machine oil on all moving parts.
How to clean electric pruning shears safely?
First, you will switch off the power. Remove the battery or unplug the cord. In this way, the blade cannot start by accident. Next, clean the blade using a cloth and a brush. Use a brush with a plastic scraper to remove big pieces of sap and dirt. Then clean the blades with a cloth with rubbing alcohol and mineral spirits to remove tough sap. Never put electric or battery parts into water. Water will damage the motor and electrical parts, making the tool useless. Keep all liquid cleaners away from the motor case and handles. You should wipe the pruning shears with light oil before you keep them idle.
What are the best practices for safely cleaning the battery compartment of cordless pruning shears?
Step 1: Remove Your Battery
First, take out the battery from the cordless pruning shear. Never clean it when the battery is still in! This keeps you safe.
Step 2: Clean Dirt
Use a soft, clean paintbrush to gently brush off dirt and dust. Be gentle so you do not scratch the metal parts.
Step 3: Wipe The Rust
Look for white or light blue powder. This means there is rust. If you see it, clean the metal parts carefully. You can use:
- A cotton swab with rubbing alcohol, OR
- You can use a clean pencil eraser
Wipe softly. Don't rub too hard.
Step 4: Dry Everything
Make sure everything is completely dry before you put the battery back in.
Things to Remember:
- Don't use water
- Do not use anything sharp
- Water and sharp things can break the parts inside
How can I prevent the blades of my battery pruning shears from rusting?
What Makes Rust? Rust occurs when water and air come into contact with metal. So you need to keep the blades dry and safe.
Step 1: Clean After Each Use
Every time you use your battery shears, wipe the blades clean. Take off:
- Water
- Sap
- Plant bits
Sap is bad because it holds water on the metal. This makes rust grow faster.
Step 2: Use Oil on the Blades
Before you keep your battery-power shears away, put a little oil on the blades. You can use:
- Machine oil
- Silicone spray
The oil forms a coating that keeps water and air from contacting the metal.
Step 3: Store in a Dry Place
Keep your cordless pruning shears in a dry spot. Do not put them in:
- Wet sheds
- Damp garages
- Any place where water sits
Step 4: Check Often
Look at your blades from time to time, even when you are not using them. If you see rust starting:
- Rub it gently with fine steel wool
- Put oil on that spot right away
Can cordless pruning shears handle thicker branches?
Cordless pruning shears can cut branches much thicker than you can cut with hand pruners. They cut quickly through green wood, usually branches up to 1 inch thick. You should check the largest cutting size for your specific tool, as it may differ. Cutting branches larger than the maximum size puts too much strain on the motor and drains the battery quickly. This also damages gears. Green wood is easier to cut than hard, dried wood. For thicker and harder branches, you must use a more powerful tool like a saw. Using the right tool prevents the motor from overheating and breaking the inner parts.
How can I tell if the blades of my cordless pruning shears need replacing?
You must replace the blades when they do not cut cleanly and smoothly, even after sharpening and cleaning them. Check for obvious damage, such as large chips, dents, and deep holes in the cutting edge that sharpening cannot fix. Small marks are okay, but severe damage means you need new blades. These broken edges will damage the wood instead of making a clean cut. If the tool needs much more effort or the motor struggles to make once easy cuts, the blades have expired. Also, check the alignment. If the blades are bent or the gap between the cutting edges is too wide from use, replace them.
Can cordless pruning shears be used for purposes other than gardening?
You should only use cordless pruning shear for gardening and yard work activities. They cut soft materials like wood, stems, and brush very well. Using them for any purpose other than their intended purpose will void your warranty and may damage the tool. Do not use them to cut metal wires, plastics, fiberglass, or building materials. Hard, non-plant materials will immediately dull and chip the steel blades. The cutting motion designed for wood may also create dangerous flying debris when used on materials like plastic pipe.