
Do you know how to maintain your gardening tools in top condition? Experts tell us a dull tool makes gardening work difficult. It also damages plants. A sharp pair of shears cuts cleanly. This enhances plant health and improves the efficiency of your gardening tasks. Sharpening pruning shears is a fundamental understanding that focuses on the necessity of tool care.
You want to know how to sharpen pruning shears? Dull tools require significantly more force to use effectively. This will lead to unnatural pressure on your hands and wrists. Moreover, a dull blade crushes the vascular tissue of a plant. This leaves the plant vulnerable to disease. This article will guide you through the precise methods for maintaining and sharpening your tools effectively.
1. Types of Pruning Shears
So starting from the beginning, pruning shears come in several forms. Each type has parts that require attention when sharpening. Understanding the type you have is the first step toward effective maintenance.
Manual Pruning Shears
Manual pruning shears are the most common types. They include bypass shears and anvil shears. Bypass shears cut like scissors. Anvil shears use a blade that meets a flat surface. Bypass shears are good for live green wood. They offer a cleaner, healthier cut. Anvil shears are better suited for cutting hard, dead wood. If you are wondering how to sharpen pruning shears, you generally refer to these manual tools. You should inspect the design of your manual shears before starting any sharpening.
Cordless Pruning Shears
Cordless pruning shears use batteries for working. They help make cutting easier. Cordless pruning shears are good for:
- People who need help with strength
- Anyone who has a lot of pruning to do
Even though the shears use battery power, you still need to sharpen the cutting blade by hand sometimes.
Important Safety Rule:
Always remove the battery before cleaning or repairing.This keeps you safe while you work on your shears.
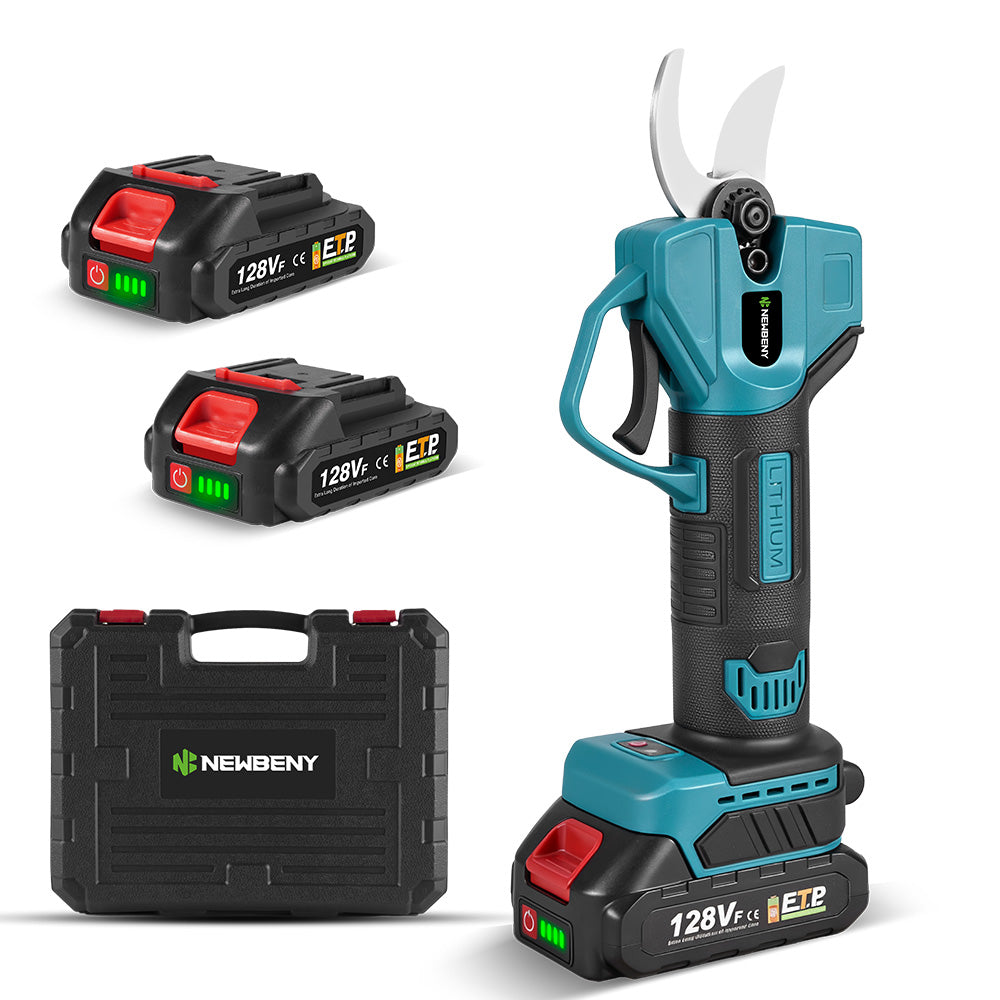
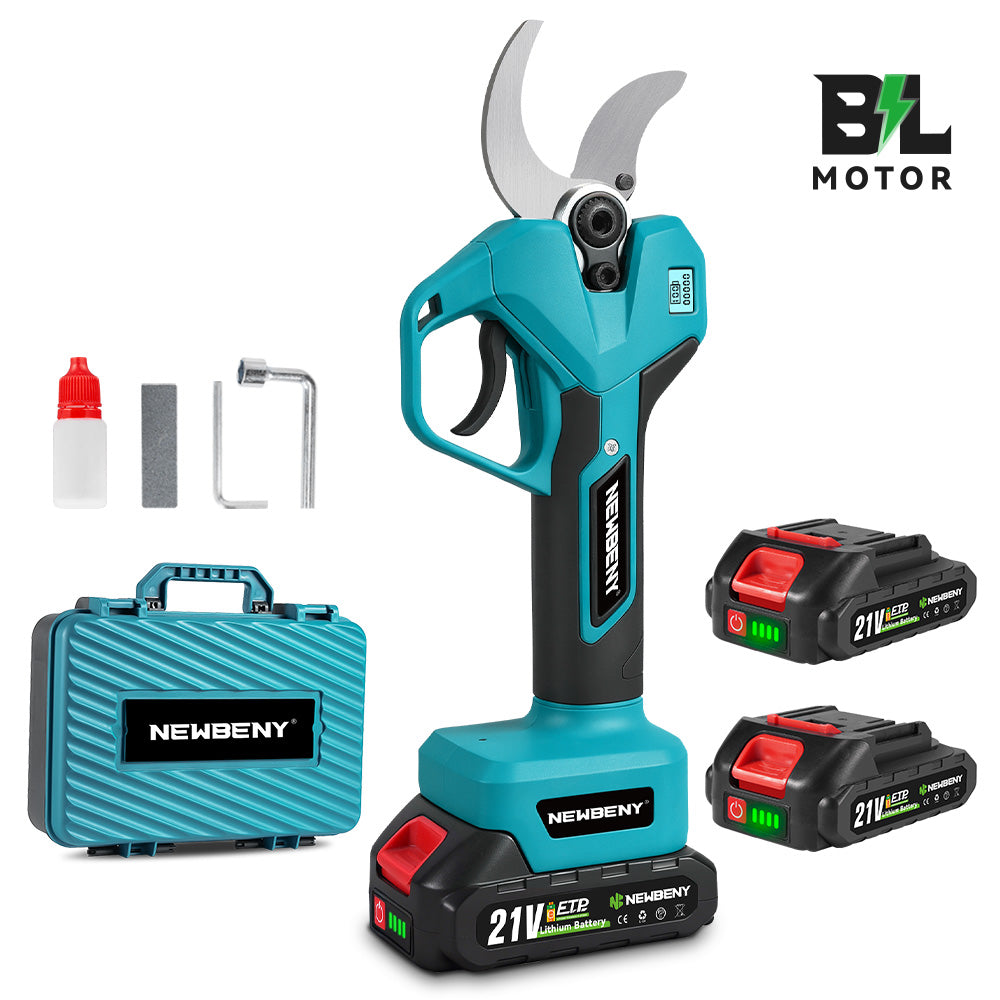
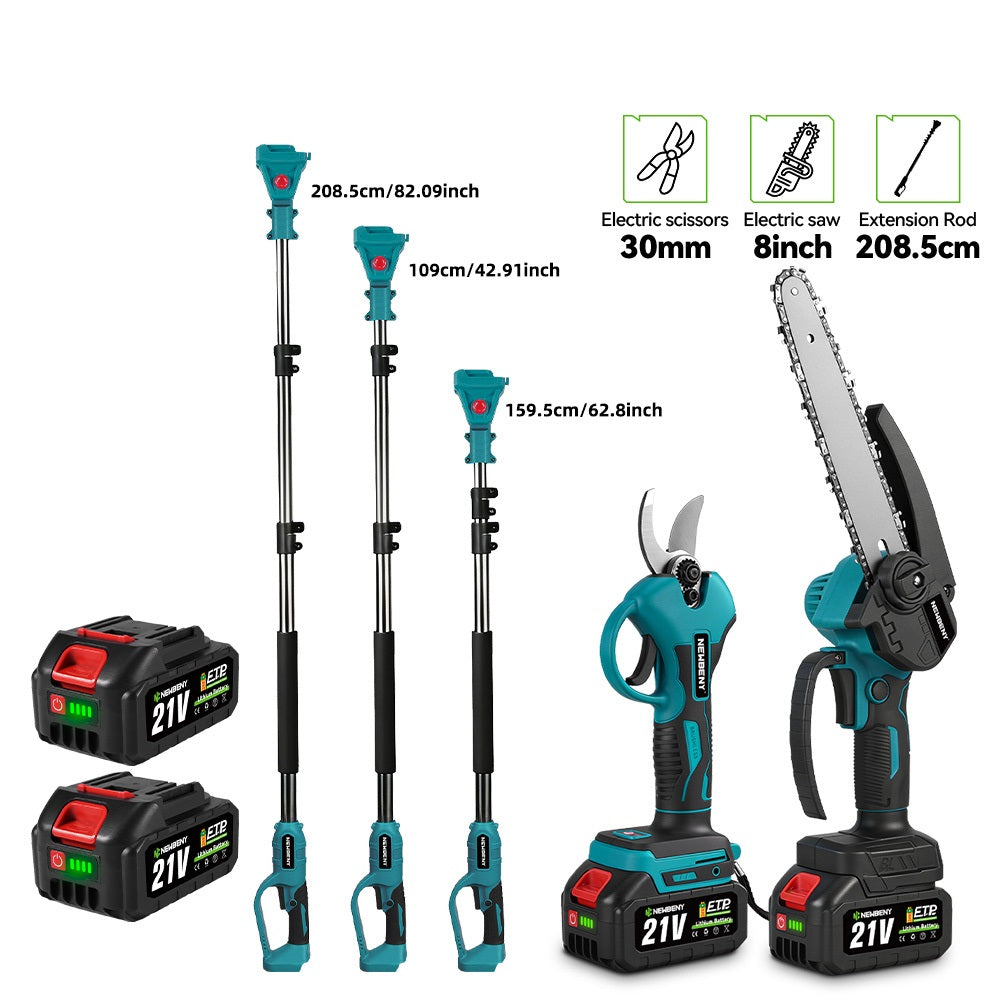
When selecting pruning shears, consider models like the NewBeny 30mm Brushless Cordless Pruning Shears, which feature upgraded technology for better cutting efficiency. You can incorporate it for vineyard pruning, orchard maintenance, and home garden trimming.
Corded Electric Pruning Shears
Corded electric pruning shears depend on a continuous power source. They are used for heavy-duty use. They often feature robust blades designed for thicker material. Therefore, the blades on corded models require a more aggressive sharpening tool. Use a coarse diamond file, for instance, to restore the edge.
Gas Powered Pruning Shears
Gas-powered pruning shears are large tools. They are designed for very thick branches. Professionals usually favor these tools due to their greater capacity to handle thick branches. Sharpening these requires special attention to their often-serrated edges. These tools can sometimes be beyond the scope of a simple home job. This will prompt a search for where to get pruning shears sharpened.
Parts of Pruning Shears That Need Sharpening
The cutting blade is the main component that needs sharpening. On bypass shears, this is the curved, beveled edge that slices past the hook. Focus your sharpening efforts on the beveled surface. On anvil shears, you sharpen the single beveled edge that will strike the anvil. Secondly, you also need to address any debris on the anvil blade, if your tool has one. Furthermore, the important point, where the blades cross, must be clean and lubricated. This will ensure smooth action.
2. Tools and Materials Required for Sharpening
To begin, you must gather the correct equipment. Having the right tool makes the job safer and more effective.
Sharpening stones
Sharpening stones are good for establishing a new edge. Then you use them to refine it. A coarse stone is effective for removing nicks and restoring dull edges. Similarly, a fine stone polishes the edge. This makes it truly sharp. Remember, the best ones have a mirrored finish.
Diamond sharpening files
Diamond sharpening files are effective for quickly learning how to sharpen pruning shears with a file. This is especially true if the blade is very dull. Diamond files maintain their flat surface and cut metal aggressively. This makes them a top choice for hardened steel.
Sandpaper or sharpening sticks
Another option is to use a different material if you prefer not to use traditional stones. Fine-grit sandpaper wrapped around a wooden dowel can be very useful for honing curved edges.
Safety gloves and eye protection
You must wear safety gloves, such as leather or cut-resistant gloves, along with ANSI Z87.1-certified safety glasses, to avoid injuries. Remember, safety first. Metal filings are tiny and dangerous to the eyes.
Clean cloth
You will use a clean cloth to clean debris and filings. A clean rag prevents you from inadvertently scratching the blade with grit.
Disinfectant
You need Isopropyl Alcohol or Sodium Hypochlorite to sanitize the blades. This will prevent the transfer of plant diseases. Moreover, remember to use a diluted solution. Experts recommend a 1:9 mix of household bleach and water.
Lubricating Oil
A light machine oil or specialized tool oil is necessary for the final step. You must apply the oil lightly to all metal surfaces of the cutting blade. This is especially important for the beveled edge and the flat back. Furthermore, apply a small drop directly onto the pivot joint.
3. Step-By-Step Guide: How to Sharpen Pruning Shears
The following steps provide crucial instructions for sharpening. We will focus on the field spot and the blade edge, and you will quickly grasp these steps.
Step 1: Clean the Shears
First, you need to clean the shears thoroughly. It is better to incorporate a rag to clean the dirt and any rust. It is difficult to clean the dry sap. The suitable option is to use steel wool, a brass brush, and a solvent. Next, you will use mineral spirits to remove tough residue. To learn how to clean and sharpen pruning shears, start here. Removing debris uncovers the blade's true edge. This ensures that you sharpen the metal itself, not the dirt covering it. Furthermore, disinfect the blades with alcohol. Finally, neutralize any fungal spores and bacteria before proceeding.
Step 2: Secure the Shears Safely
Next, you should secure the shears. You can hold them firmly in a vise. Or, you can simply brace them against a stable surface. This prevents unusual behavior, such as the tool slipping while you work. If you are using a vise, secure only the handle, not the blade. This avoids damaging the cutting edge. Securing the tool properly ensures stability. This practice ensures a consistent sharpening angle, typically between 20 and 30 degrees.
Step 3: Sharpen the Cutting Blade
This is the most critical step. You must only sharpen the beveled side of the blade. Never sharpen the flat side. Doing so ruins the alignment necessary for a clean cut. Maintaining the original angle is paramount.
-
Method 1: How to Sharpen Pruning Shears with a File
You would rather use a file for heavily damaged blades. They remove material quickly. Use a mill file. Push it across the bevel angle away from the cutting edge. Do not saw back and forth. You must lift the file on the return stroke. Maintain the original angle. Experts confirm that the best ones have a consistent angle, typically between 20 and 30 degrees. Repeat this motion until the blade shows a consistent, clean edge. You should also feel a slight burr on the flat back side. This answers how to sharpen pruning shears at home with minimal specialized equipment.
-
Method 2: How to Sharpen Pruning Shears with a Bench Grinder
This method is only for advanced users. It removes metal quickly and generates significant heat. You must use extreme caution. Always wear full face and eye protection. Run the grinder at a slow speed. Hold the blade very lightly against the wheel, maintaining the bevel angle. You risk altering the blade's geometry if you are not careful. So, you would rather avoid this unless it's necessary to fix large chips or you are experienced. Also, you must dip the blade in water frequently. This keeps it cool and prevents the steel from losing its temper.
-
Method 3: How to Sharpen Pruning Shears with a Stone
First, start with the coarse side of the stone. This re-establishes the edge. Then, switch to the fine side. Hold the stone at the exact original bevel angle. Experts recommend applying machine oil or water to the stone before use, depending on the stone type. Push or pull the stone across the edge, moving toward the tip. Continue until you see a consistent, shiny edge. If you want to know how to sharpen pruning shears with a stone by hand, this slow, deliberate method gives you the best control over the edge angle.
-
Method 4: How to Sharpen Pruning Shears with a Dremel Tool
A Dremel tool with a grinding stone attachment gives speed. It has to be a very light touch. The high speed can quickly overheat the metal and ruin the temper. Choose a low speed setting. Install the grinding bit, which is a stone or cone-shaped, into the tool. Next, use the Dremel for gentle beveling. Again, maintain the initial angle and work gradually. Check your progress often. This is a common way to show how to sharpen pruning shears with dremel.
Step 4: Sharpen the Anvil Blade
Then, you should address the anvil blade on the anvil shears. This flat surface does not need an edge. However, you must make sure it is smooth. This provides a clean contact surface for the cutting blade. Lay the anvil blade flat against a fine-grit stone or file. Lightly file or stone the flat side to remove any nicks. But do not create an edge. An exception is if the anvil features a slight bevel for better material guidance. You must only lightly maintain this original angle.
Step 5: Remove Burrs and Final Touches
During sharpening, a slight curl of metal, called a burr, will form on the back of the blade. This burr indicates that you have completely sharpened the edge. You have to take this burr off to have an immaculate, sharp cut. Lay the shears flat. Then, with a slight stroke, run the fine side of your stone or file on the flat side. Draw the burr off the cutting edge. It only requires one or two light passes. This is what makes the real sharp, efficient edge even on high-quality tools such as the NewBeny 30mm Brushless Cordless Pruning Shears.
Step 6: Lubricate and Reassemble
Lastly, wipe the blade clean. Eliminate any metal dust and debris. Gently apply a light machine oil to the blades. It will also prevent rust. Additionally, grease the pivot point and the spring mechanism, as needed. This is to guarantee smooth operation. Put the shears back together in case you disassembled them. Test the tension and the cutting action. The shears are to open and close easily.
4. Common Mistakes to Avoid When Sharpening Pruning Shears
You need to know that simple errors can ruin your tool. Learning from expert reviews means avoiding these common pitfalls.
Over Sharpening or Changing the Blade Angle
You must maintain the original angle. Changing it weakens the blade or makes it ineffective. If the angle is too steep, the edge is brittle. If the angle is too shallow, the edge will become dull more rapidly.
Neglecting the Anvil or Flat Blade Surfaces
Ignoring the burr or nicks on the flat side prevents a clean cut. The flat side must be perfectly flat and smooth for the shear to function correctly.
Applying Too Much Pressure During Sharpening
This wears down the blade too quickly. It can also result in an uneven edge. Use light, even strokes. Let the sharpening tool, not your muscle, do the work.
Using Improper or Dull Sharpening Tools
A dull file or stone will not sharpen. It will only scrape and damage the blade’s edge. Always use tools in good condition.
Forgetting Protective Gear During Sharpening
You should never forget to use protective gear during sharpening. It will help you avoid metal slivers and dust from the grinding process from entering your eyes. This can cause serious damage. Therefore, wearing safety glasses is a non-negotiable safety measure that you must practice every time.
Ignoring Regular Maintenance and Cleaning Before and After Sharpening
Skipping the cleaning means you sharpen over grit and debris. Furthermore, skipping the lubrication allows rust to form quickly. This may require you to re-sharpen the blades much sooner than necessary.
5. How Often Should You Sharpen Your Pruning Shears?
An adult generally needs some days to understand a new topic. But knowing when to sharpen is simple. Watch and feel the shears.
Signs That Indicate It’s Time to Sharpen
The shears will tell you when they need attention.
Difficulty Cutting Through Branches Cleanly
This is the clearest sign. Instead of a snap, you feel resistance. You may ask yourself: Can pruning shears be sharpened easily? The answer is yes, if you act upon these signs quickly.
Crushed or Torn Plant Stems
A dull blade crushes tissue rather than slicing it. The plant tissue appears frayed or ragged after the cut. This is unacceptable for plant health.
Increased Physical Effort and Hand Fatigue
You should not have to strain to make a cut. If you feel excess strain after just a few minutes, the tool is dull.
Visible Nicks, Chips, or Rusted Spots on the Blade
Rust indicates a need for cleaning. Perhaps a light sharpening is needed to remove surface imperfections. Nicks need immediate attention with a coarse stone or file.
Metal Burrs or Rough Edges Along the Blade
This means the last cut created an imperfection. The edge is rolling over.
Recommended Sharpening Frequency
For most hobby gardeners, sharpening after every 10 to 20 hours of use is ideal. Or, sharpen at least once at the beginning and end of the gardening season. Some choose to sharpen their tool every time they clean it. This is especially true if the tool is subject to hard use. Material cut and steel quality are two factors that affect the frequency.
How Regular Maintenance Extends Time Between Sharpening
Moreover, wiping down your shears and lightly oiling the pivot and blade after every use is essential to prevent rust and corrosion. This simple maintenance keeps the edge cleaner. It also reduces the frequency with which you must completely re-sharpen the blade. The store you shop at has some blades that are cut. This means they are improperly maintained or used. Maintaining your tools keeps them in good condition.
6. Conclusion
You now know how to sharpen pruning shears effectively. You also understand that the process is not overly complicated. Maintaining a keen edge on your tools saves your plants from damage. It also enhances your overall gardening experience. Keeping your tools sharp is a progressive effort. It pays off immensely in the health of your plants and the ease of your labor.
7. FAQs
Can I sharpen pruning shears with household items like sandpaper?
Yes, you can sharpen pruning shears with sandpaper. Wrap it around a stick or a flat surface. Use coarse grits for establishing the edge. Use fine grits for honing. This works especially well for minor touch-ups. However, you prefer a dedicated file or stone for serious re-edging. This is an effective answer to how to sharpen pruning shears at home without specialized equipment.
How do I know if my pruning shears are beyond repair?
The tool may be beyond easy repair if the blade has a deep chip or a crack extending into the steel body. This is also true if there is a major bend that affects alignment. Similarly, if the metal is severely rusted and pitted to the point where it extends beyond the surface level, replacement may be necessary. Deep pitting means too much metal must be removed. This potentially alters the tool's intended design.
Are electric sharpeners suitable for pruning shears?
Electric sharpeners, such as bench grinders or Dremels, can quickly sharpen shears. Nevertheless, you must use them with extreme caution. They remove metal rapidly. They can quickly alter the blade angle or overheat the metal, compromising the blade's temper. They are best reserved for highly experienced users. You can achieve excellent results with hand tools like a file or a stone. Superior results are often achieved this way.