
Proper chainsaw maintenance determines equipment longevity. Chain replacement stands as the most critical maintenance task. Worn chains create safety hazards. Moreover, deteriorated chains typically reduce cutting efficiency dramatically, particularly when cutting through harder materials. In contrast, neglecting chain maintenance can lead to expensive engine damage.
However, many people do not know how to replace chain on a chainsaw. Most operators delay chain replacement until cutting becomes impossible. This approach costs more money over time. Similarly, worn chains significantly increase the risk of accidents by causing kickback or loss of control during operation. Professional tree service providers understand this principle. They replace chains before performance deteriorates completely.
1. Why You Need to Replace Your Chainsaw Chain
Signs Your Chainsaw Chain Needs Replacement
1. Dull or Blunt Cutting Edges
Sharp chains slice through wood effortlessly. Dull chains require excessive force during cutting, which can lead to unsafe operating conditions and may damage both the chainsaw and the material being cut.
2. Increased Vibration and Noise
Worn chains create excessive vibration throughout the saw. This vibration is transmitted directly to the operator's hands. Subsequently, prolonged use becomes uncomfortable. Moreover, abnormal noise levels indicate chain deterioration.
3. Visible Damage or Wear
Inspect chains at least once before each use for physical damage. Chipped cutting teeth indicate replacement necessity. Moreover, cracked links compromise chain integrity completely. Furthermore, broken tie straps can lead to chain derailment, creating dangerous operating conditions for the user.
Watch for these specific damage indicators:
- Cutting teeth excessively worn down or uneven
- Tie straps or rivets loose or damaged
- Deep gouges across multiple links
4. Chain Does Not Track Properly
Worn chains wander during cutting operations. Conversely, this creates uneven cuts and safety hazards. Moreover, poor tracking can permanently damage the guide bar.
5. Chain Is Stretching
New chains require initial tensioning adjustments. Excessive stretching may indicate wear beyond acceptable limits, but it can also result from improper tensioning or installation. Furthermore, frequent tensioning becomes necessary with worn chains. This stretching reduces cutting efficiency substantially.
6. Difficulty During Cutting
Sharp chains require minimal downward pressure. Operators should not force chainsaws through wood. Otherwise, excessive pressure indicates the necessity of immediate chain replacement. Difficult cutting can lead to operator fatigue quickly.
7. Excessive Chain Lubrication Issues
Worn chains may consume more bar oil due to increased friction and improper lubrication, indicating a need for replacement. Additionally, oil consumption significantly increases operational costs.
8. Frequent Chain Tensioning
New chains generally maintain tension for a longer period between adjustments under normal operating conditions.
Worn chains require constant re-tensioning during operation. Subsequently, this interrupts workflow repeatedly. Moreover, frequent adjustments indicate the necessity of replacement.
Importance of Regularly Replacing Your Chainsaw Chain
1. Ensures Optimal Cutting Performance
Fresh chains maintain razor-sharp cutting edges. These edges slice through wood fibers cleanly. Moreover, optimal performance results in reduced job completion time. Furthermore, efficient cutting substantially reduces fuel consumption.
2. Enhances Safety
Sharp chains reduce kickback risks dramatically. Dull chains increase unpredictable behavior during cutting. Additionally, worn chains can create hazardous binding situations. Remember that proper chain maintenance prevents serious accidents.
3. Prevents Damage to the Chainsaw
Worn chains strain engine components unnecessarily. This strain leads to premature engine failure. Also, poor chains damage guide bars permanently. Furthermore, replacement costs exceed preventive maintenance expenses.
4. Reduces Operator Fatigue
Sharp chains require minimal cutting pressure. Operators experience less physical strain during extended use. Moreover, reduced vibration significantly decreases hand fatigue, and comfortable operation improves work quality.
5. Cost Savings Over Time
Regular chain replacement prevents expensive repairs to the chainsaw's engine and other critical components that worn chains can damage. At the same time, preventive maintenance costs less than major overhauls. Furthermore, efficient cutting reduces fuel expenses substantially.
2. Safety Precautions Before Replacing a Chainsaw Chain
Essential Personal Protective Equipment
Safety equipment is essential for protecting operators during both maintenance procedures and while using the chainsaw. Never attempt chain replacement without proper protection. Inadequate safety gear can lead to serious injuries. Professional standards require complete PPE compliance.
Essential protective equipment includes:
- Cut-resistant gloves for hand protection
- Safety glasses to shield eyes from debris
- Long-sleeved shirts prevent skin contact and reduce the risk of abrasions from debris during operation.
- Steel-toed boots protecting feet from dropped components
Essential Tools Needed to Change a Chainsaw Chain
Proper tools ensure safe chain replacement procedures. Using the wrong tools can potentially damage chainsaw components or hinder effective maintenance. Quality tools last longer and work more effectively.
Required tools include:
- Combination wrench for cover bolts
- Flat-blade screwdriver for tensioning adjustment
- Clean rags for wiping components
- Replacement chain matching your chainsaw specifications
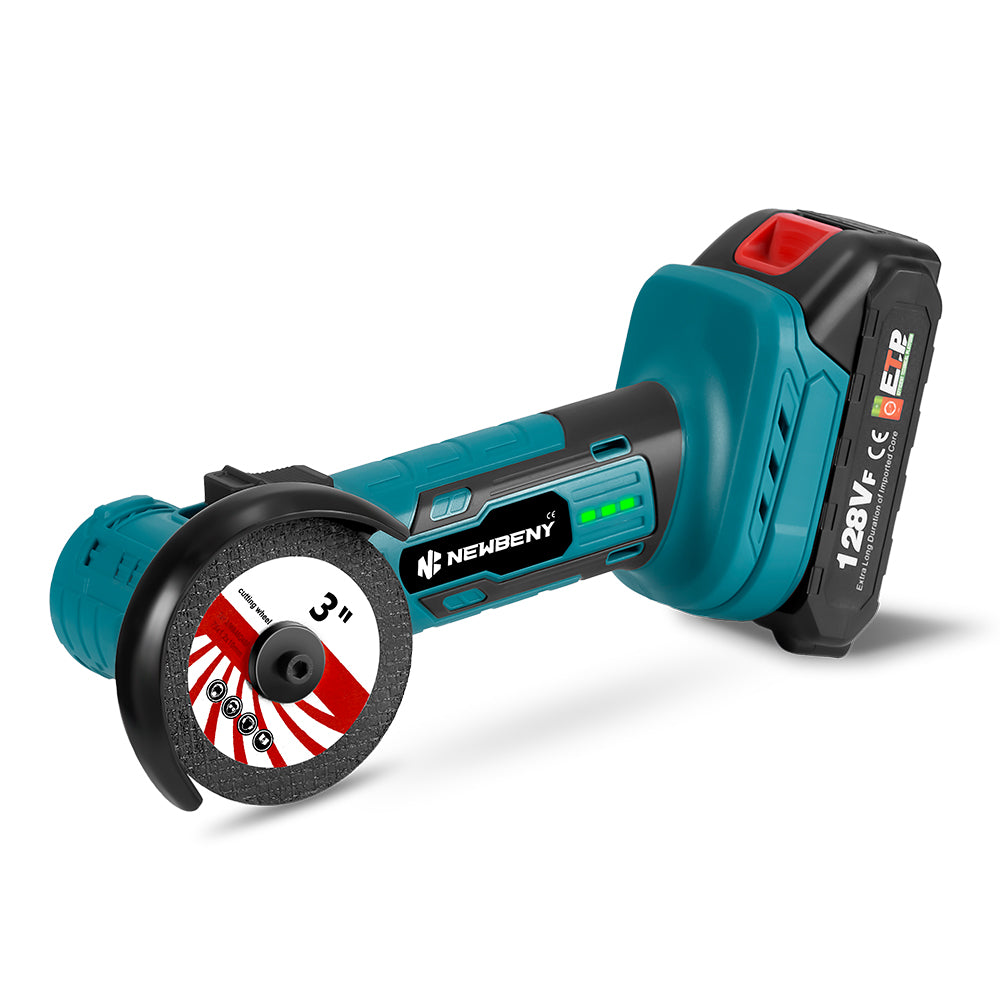
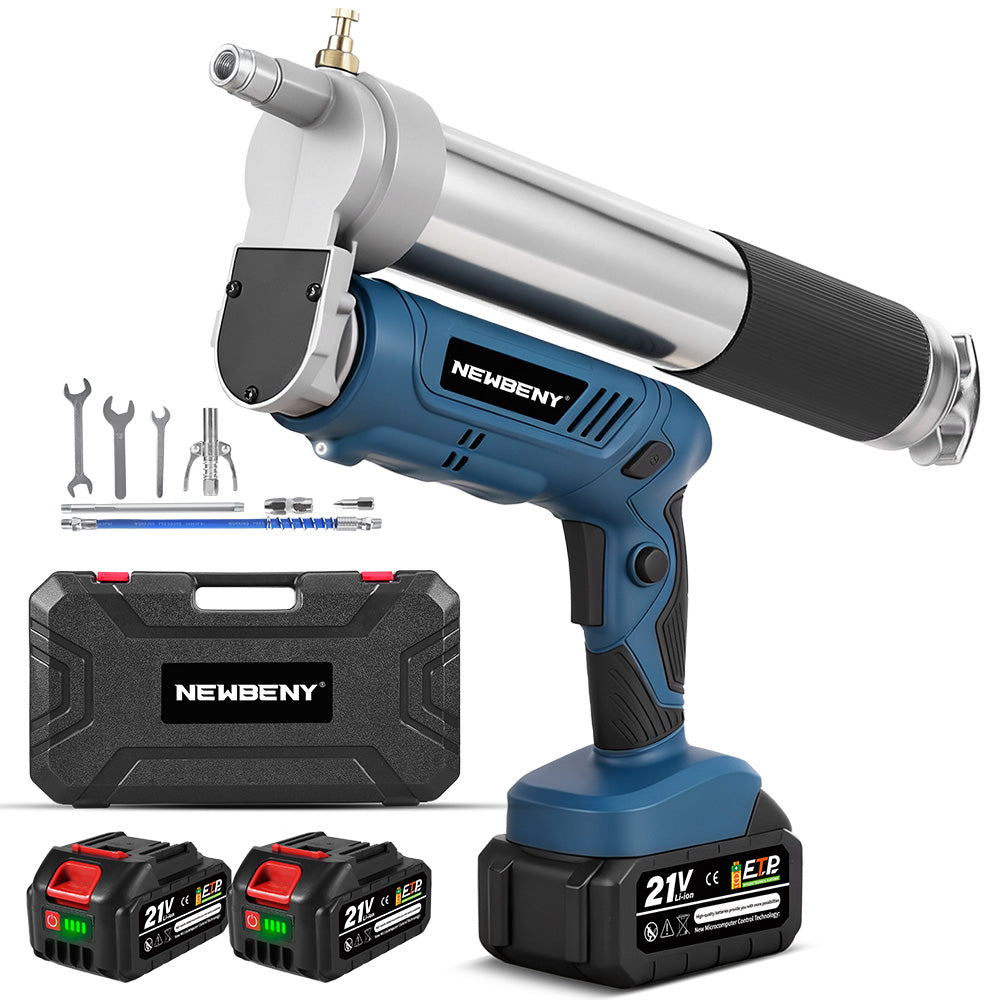
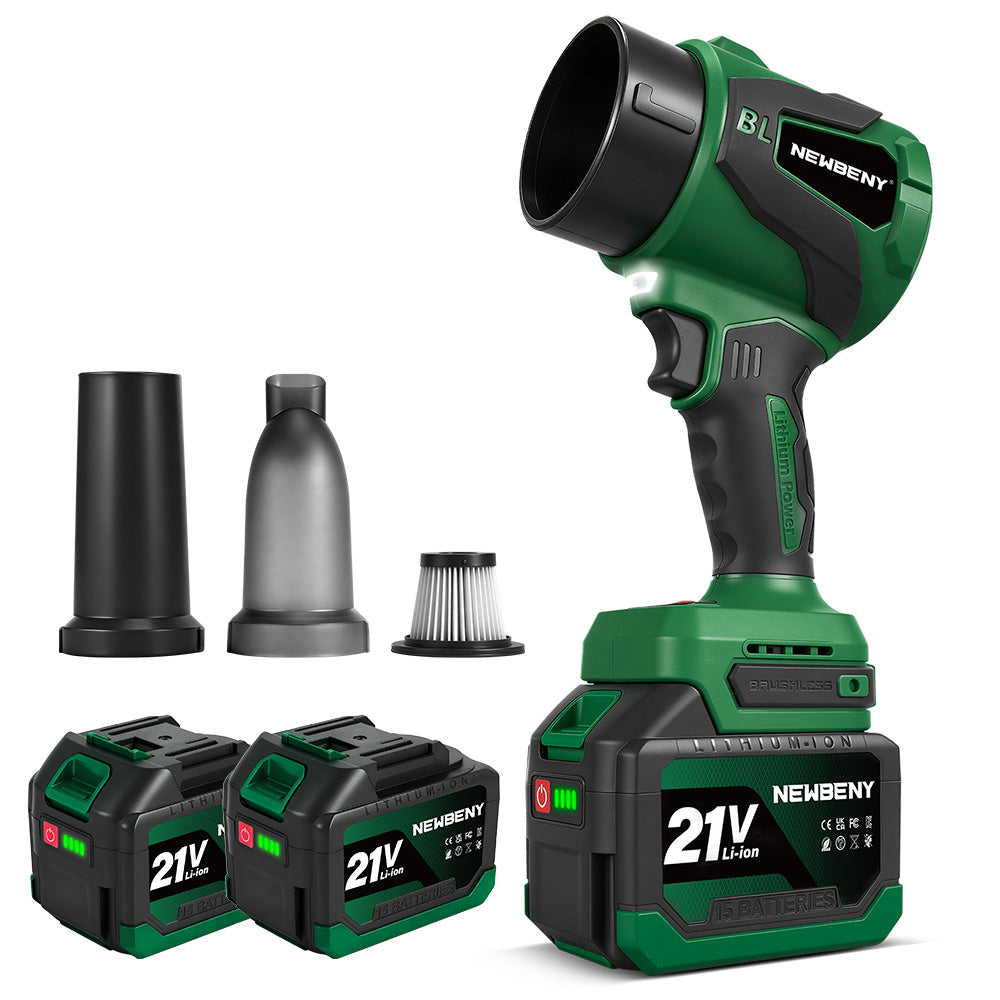
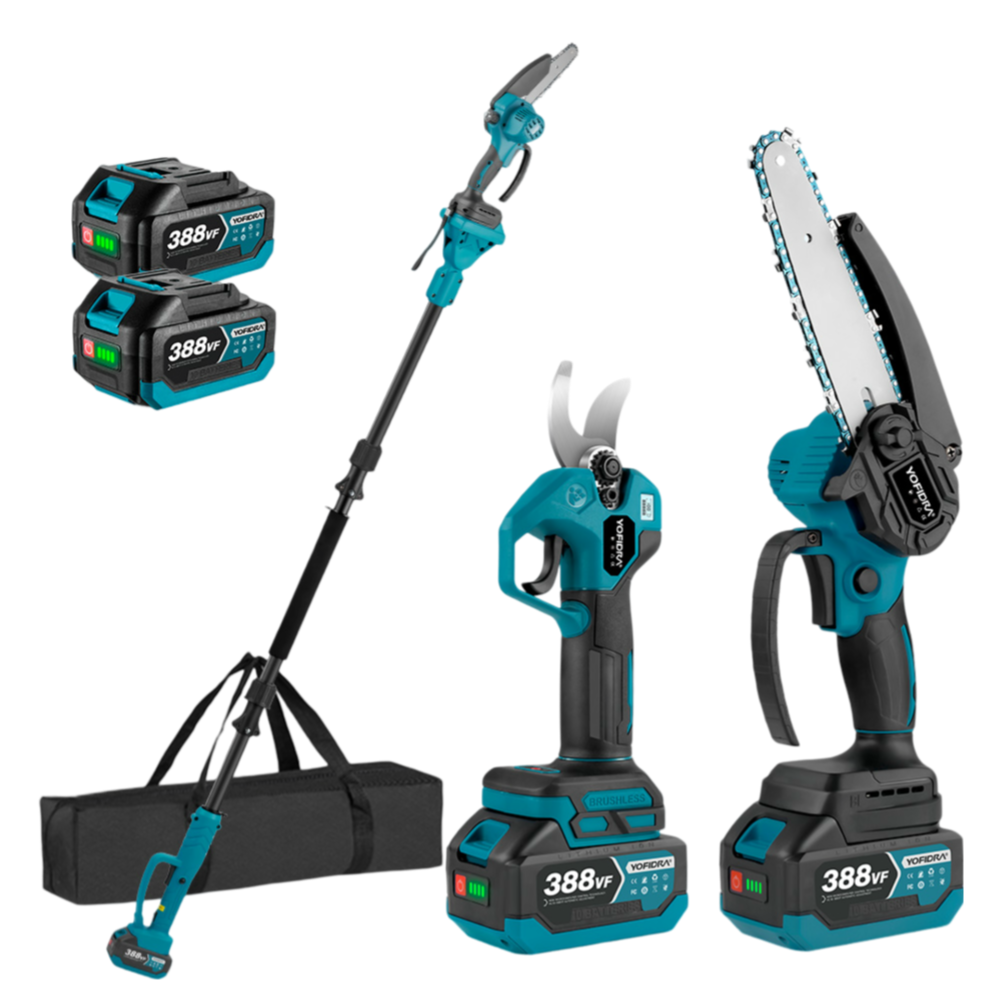
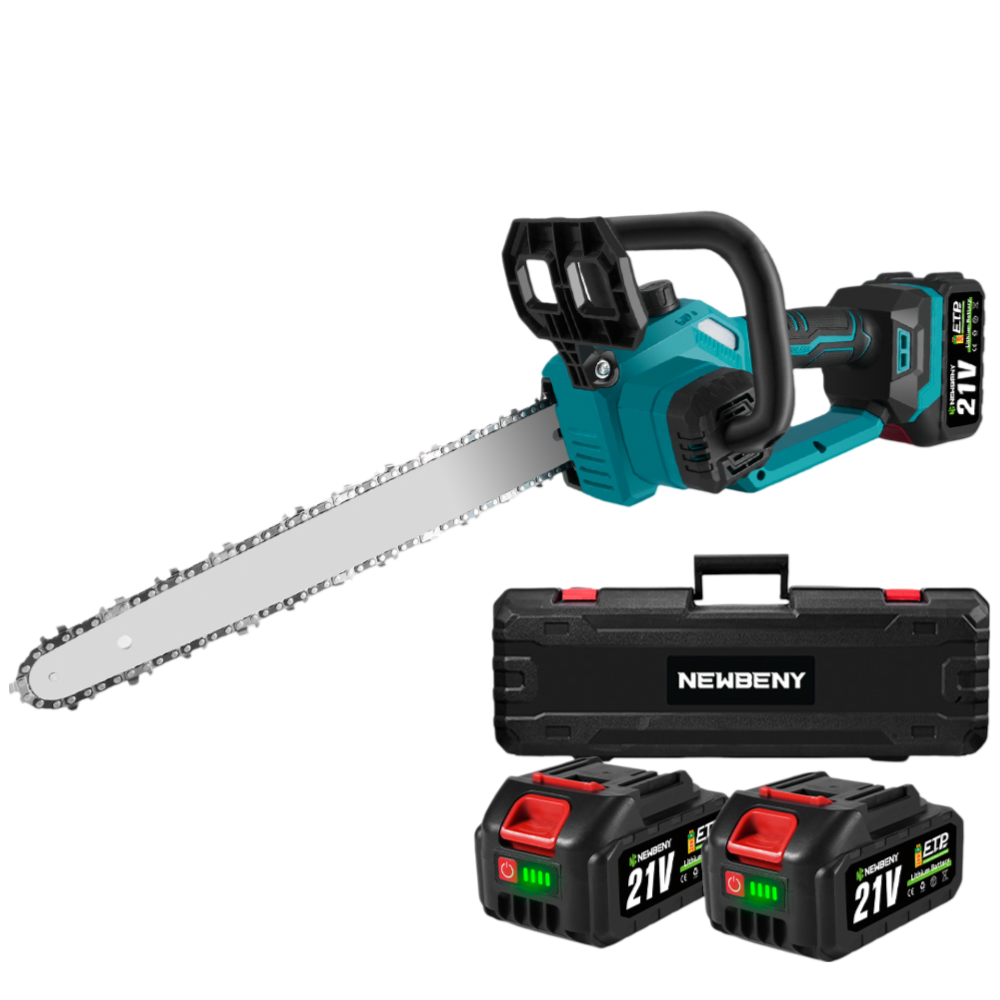
NewBeny Cordless 12" Chainsaw wide baffle stops debris, and heat holes provide effective cooling. The pruner's ergonomic handle minimizes strain during use.
Preparing Your Chainsaw for Chain Replacement
Proper preparation prevents accidents during maintenance procedures. Never work on running equipment under any circumstances. Hot components cause severe burns during handling. Similarly, pressurized systems create dangerous situations. Ensure the chainsaw is turned off completely.
For electric chainsaws
Unplug the power cord from electrical outlets. Moreover, ensure the power switch remains in off position. Always keep the cord away from work areas.
For battery-operated chainsaws
Remove the battery pack completely from the chainsaw housing. Unlike electric models, store batteries away from work areas. Furthermore, ensure battery terminals remain clean and dry.
For gas chainsaws
Allow the engine to cool for at least thirty minutes. Engage the chain brake before beginning work. Ensure adequate ventilation in work areas.
3. How to Replace a Chainsaw Chain
How to Take an Old Chain Off a Chainsaw
Step 1: Access the chain cover
How to change a chainsaw chain? Locate the side cover securing the guide bar. Most chainsaws use two hex bolts for attaching the cover. Some models feature quick-release mechanisms instead. For example, NewBeny 21V 12 Inch Brushless Cordless Chainsaw;typicallyincorporates standard hex bolt systems. Remove the cover bolts using appropriate tools. Turn bolts counterclockwise for removal. Moreover, keep bolts organized to prevent loss. Inspect bolt threads for damage during removal.
Step 2: Loosen the tensioning screw
Find the tensioning adjustment screw near the guide bar. This screw controls chain tightness during operation. Turning clockwise increases tension significantly, and counterclockwise rotation decreases chain tension. Turn the tensioning screw counterclockwise several rotations. This creates slack in the chain assembly. Adequate slack allows easy chain removal, whereas excessive loosening prevents proper reinstallation.
Step 3: Remove the old chain
Lift the guide bar slightly to access the chain. Pull the chain away from the guide bar's groove carefully. Work the chain around the drive sprocket slowly. Avoid forcing the chain during removal procedures. Inspect the old chain for signs of wear and tear. Inspect the old chain for wear patterns. You should note any unusual damage for future reference. Dispose of worn chains according to local regulations.
Mistakes to Avoid When Removing the Chain:
Using the Wrong Chain Size or Type
Chain specifications must match your chainsaw exactly. Wrong chains create safety hazards immediately. Despite this, incorrect chains can cause permanent damage to sprockets. Mismatched components void warranty coverage completely.
Ignoring the Direction of the Chain
Chains install in one direction only. Moreover, backward chains create dangerous kickback situations. Remember that incorrect direction damages chain components rapidly.
Not Properly Lubricating the Chain
Dry chains wear out extremely quickly. Inadequate lubrication creates excessive heat buildup. Despite this, poor lubrication can cause permanent damage to guide bars. Proper oiling extends chain life significantly.
Inadequate Inspection of the Guide Bar and Chain
Worn guide bars damage new chains immediately. Inspect bar rails for excessive wear patterns, such as grooves or flat spots, which can indicate that the guide bar needs replacement. Check the bar groove depth regularly, as damaged bars require immediate replacement.
How to Put a Chain Back on a Chainsaw
Step 1: Position the new chain on the guide bar
Place the new chain around the guide bar nose. Ensure cutting edges face the correct direction. The sharp edges should point forward along the top. Similarly, verify that the chain pitch matches the bar specifications exactly. Carefully position the chain into the guide bar's groove completely. The drive links must seat properly in the groove. Ensure even spacing around the entire bar. Furthermore, check for any binding or tight spots.
Step 2: Align the chain with the sprocket
Position the guide bar assembly over the drive sprocket. The chain drive links must engage sprocket teeth properly. Moreover, ensure complete engagement around the sprocket circumference. It is important to verify smooth chain movement around the sprocket. Pull the chain tight against the sprocket during positioning. This prevents chain derailment during assembly. On the other hand, proper alignment ensures smooth operation from the outset. Simultaneously, misalignment causes premature wear patterns to develop.
Step 3: Reattach the chain cover
Position the side cover over the guide bar assembly. Ensure proper alignment with mounting points. The cover must seat flush against the chainsaw housing. It is essential to verify that all components are properly cleared of the cover. Thread the cover bolts into their mounting holes. Turn bolts clockwise for proper tightening. You should alternate between bolts to ensure even pressure distribution and avoid over-tightening, which can permanently damage threads.
Mistakes to Avoid When Installing the Chain:
Forgetting to Wear Safety Gear
Safety equipment remains essential during installation procedures. Sharp chain edges can cause serious cuts. Small springs and components can cause eye injuries. So if you use proper PPE,it will prevent most maintenance injuries.
Not Cleaning the Sprocket and Guide Bar Area
Debris accumulates in these critical areas. Clean buildup prevents proper chain operation. Then again, dirt causes accelerated wear patterns. Regular cleaning extends component life significantly.
Incorrect Installation of the Chain Links
Drive links must seat completely in guide bar grooves. Partial seating causes chain derailment immediately. For example, improper seating damages chain components. So verify complete engagement before operation.
Neglecting to Test Run After Replacement
Always test new chain installation before heavy work. Initial testing reveals installation problems immediately. If you organize test runs, it will allow proper tensioning adjustments. The reason is, brief testing prevents costly mistakes.
Overlooking Proper Tension
New chains require precise tensioning for safe operation. Loose chains derail during cutting operations. Moreover, tight chains strain engine components unnecessarily. Furthermore, proper tension ensures optimal cutting performance.
4. Types of Chainsaw Chain Tensioning
Step-by-Step Guide for Front Chain Tensioning
Step 1. Turn Off and Unplug the Chainsaw
Complete shutdown prevents accidental starting during adjustment. Electric models require disconnection from power sources. Moreover, battery chainsaw require the complete removal of the battery. Simultaneously, gas models need adequate cooling time.
Step 2. Engage the Chain Brake
Push the chain brake forward until it clicks into place. This prevents chain movement during tensioning procedures. Moreover, engaged brakes protect operators from injury. Furthermore, brake engagement has become a standard safety protocol.
Step 3. Locate the Tensioning Mechanism
Front tensioning systems position controls near the guide bar. Look for a large knob or lever mechanism. Simultaneously, front systems allow quick adjustments during operation.
Step 4. Loosen the Side Cover Bolt
Some front tensioning systems require loosening the cover to adjust. Turn bolts counterclockwise one or two rotations. Moreover, complete removal is unnecessary for adjustments. Furthermore, loose covers allow guide bar movement.
Step 5. Adjust the Tension
Turn the tensioning knob clockwise to increase chain tension. Counterclockwise rotation decreases tension immediately. Still, make small adjustments to prevent over-tensioning. Gradual changes allow precise control.
Step 6. Check the Chain Tension
Lift the chain away from the bottom of the guide bar. Proper tension allows for slight lifting of the chain away from the guide bar without creating excessive slack. Moreover, the chain should snap back against the bar. Drive links must remain seated in the groove.
Step 7. Verify the Chain Tension at the Top of the Guide Bar
Pull the chain around the bar top manually. The chain should move freely without binding. Resistance indicates excessive tensioning immediately. In addition, smooth movement ensures proper adjustment.
Step 8. Secure the Side Cover
Tighten cover bolts to manufacturer specifications. Alternate between bolts for even pressure distribution. Moreover, avoid over-tightening, as this can strip the threads. Secure covers prevent operational problems.
Step 9. Double-Check the Tension
Repeat tension checks after cover tightening. Cover installation can affect chain tension. Moreover, final checks prevent operational problems. Simultaneously, proper tension ensures safe operation.
Step 10. Test the Chainsaw
Start the chainsaw and allow it to idle for a brief moment. Listen for unusual noises or vibrations. Engage the chain brake to test function. Furthermore, brief testing confirms proper installation.
Step-by-Step Guide for Quick Chain Tensioning
Step 1: Turn Off and Secure the Chainsaw
Complete equipment shutdown prevents accidental injuries. Engage chain brakes for additional safety. Allow hot components to cool completely. Simultaneously, secure positioning prevents equipment movement.
Step 2: Loosen the Side Cover Bolts
Turn cover bolts counterclockwise two or three rotations. Complete removal is unnecessary for tensioning. Yet, loose bolts allow guide bar adjustment. Furthermore, keep bolts accessible during procedures.
Step 3: Adjust the Tensioning Screw
Locate the tensioning screw near the guide bar mount. Turn clockwise to increase chain tension. Moreover, counterclockwise rotation immediately decreases tension. Furthermore, small adjustments provide precise control.
Step 4: Check the Chain Tension
Test chain tension using the lift method. Proper tension allows minimal chain lifting. Excessive lifting indicates inadequate tension. Furthermore, no lifting indicates over-tensioning problems.
Step 5: Secure the Side Cover
Tighten cover bolts to proper specifications. Use crossing patterns for even pressure. Final tightening secures all components. Furthermore, verify complete cover seating.
Step 6: Final Check and Testing
Perform final tension verification before operation. Test chain movement around the guide bar. You will ensure smooth operation without binding. Furthermore, brief testing confirms that the adjustment is proper.
Step-by-Step Guide for Side-Mounted Chain Tensioning
Step 1: Turn Off and Secure the Chainsaw
Power down the chainsaw completely before adjustments. Electric models require power disconnection immediately. Moreover, battery chainsaws need battery removal. Furthermore, gas models require cooling periods.
Step 2: Loosen the Side Cover Bolts
Side-mounted systems require partial bolt loosening. Turn the bolts counterclockwise several rotations and maintain the bolt engagement in the threads. Furthermore, loose bolts allow the guide bar to move.
Step 3: Adjust the Chain Tension
Find the side-mounted tensioning screw assembly. Turn the adjustment screw clockwise for increased tension. Counterclockwise rotation decreases chain tension. Subsequently, side systems provide excellent access.
Step 4: Tighten the Side Cover Bolts
Secure cover bolts after achieving proper tension. Turn the bolts clockwise until they are snug against the cover. Moreover, avoid excessive tightening force. Furthermore, proper tightening ensures that tension settings are maintained.
Step 5: Final Check and Testing
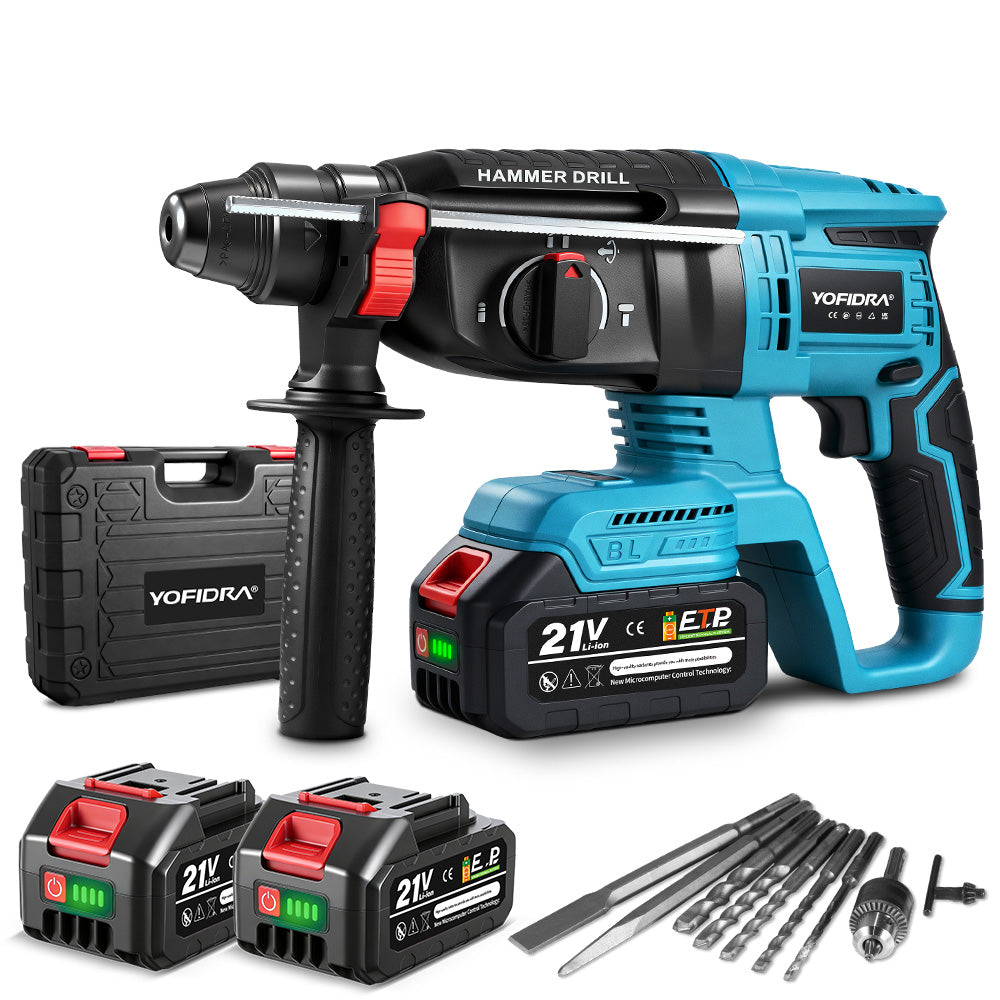
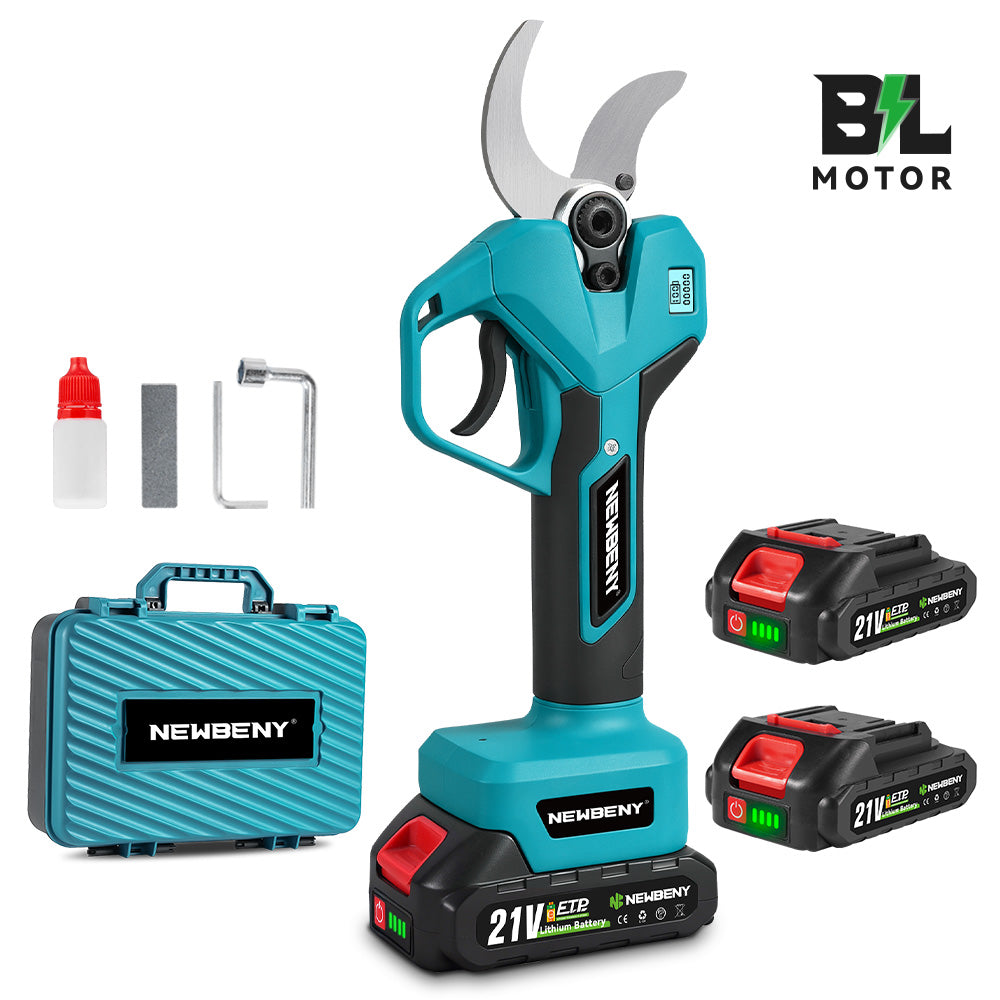
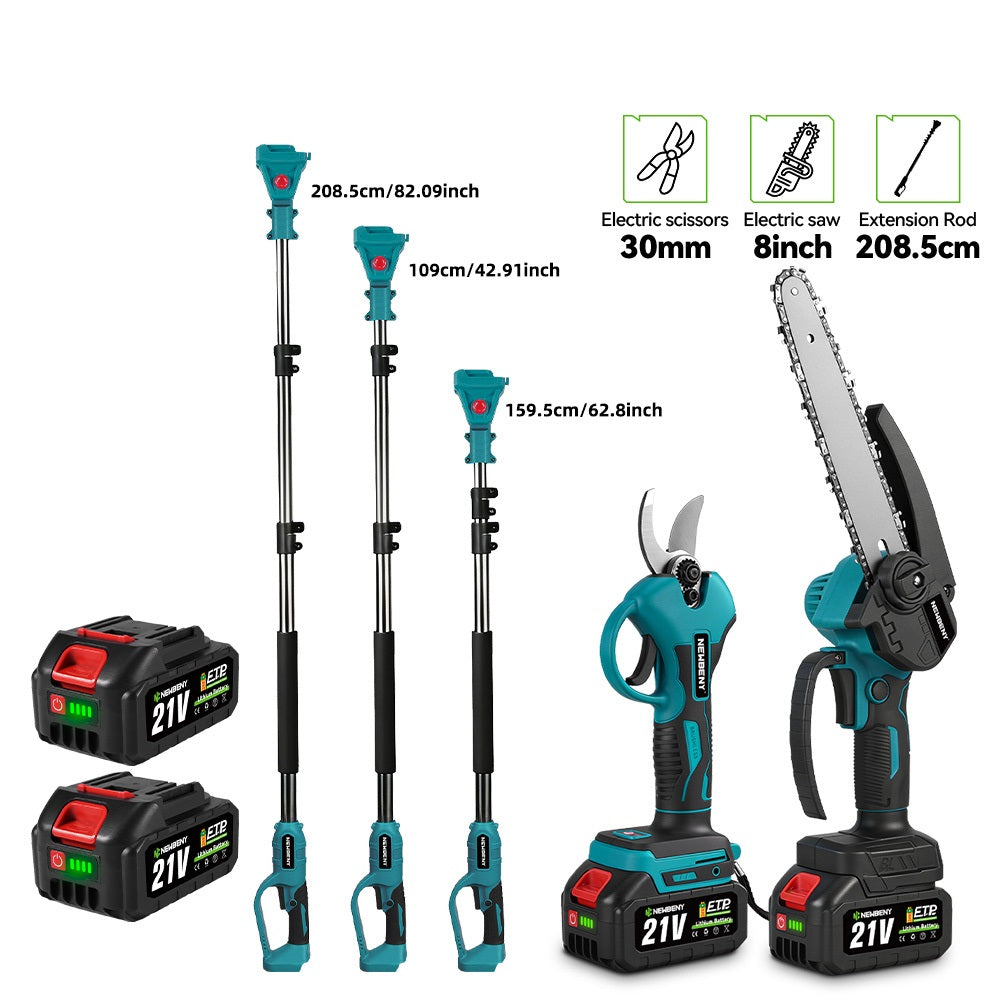
Verify chain tension after bolt tightening. Cover installation affects the final tension settings; adjust the tension as necessary. It is also essential to test the chainsaw's operation briefly before undertaking heavy work. NewBeny 3000W 8 Inch Brushless Cordless Chainsaw is perfect for tree pruning, landscaping, construction, and general woodcutting. It is a reliable choice for both homeowners and professionals.
5. Conclusion
Proper chainsaw chain replacement ensures safe and efficient operation. Regular maintenance prevents costly repairs and dangerous accidents. Sharp chains improve cutting performance dramatically. Additionally, proper techniques can significantly extend the life of equipment.
Remember that chain replacement is a routine maintenance task. Develop confidence through practice and careful attention to detail. For example, quality chains and proper installation techniques provide years of reliable service. Therefore, invest in proper tools and safety equipment for best results.
6. FAQs
How often should you replace the chainsaw chain?
The frequency of chain replacement depends on usage intensity and cutting conditions. Professional operators may need to replace chains weekly depending on usage intensity, while occasional users might find they can go much longer without replacement, potentially up to a year or more. Cutting hardwood accelerates chain wear significantly. Monitor chain condition rather than adhering strictly to schedules. After all, replace chains when cutting performance deteriorates. Furthermore, safety considerations always outweigh economic factors.
Can I sharpen my chainsaw chain instead of replacing it?
Sharp chains can be sharpened multiple times before replacement. Professional sharpening extends chain life significantly. Moreover, proper sharpening maintains cutting geometry precisely. Replace chains when sharpening no longer restores performance. Excessive wear prevents effective sharpening completely. Similarly, damaged chains cannot be repaired safely. Remember that replacement costs less than repeated attempts at sharpening.
What are the different types of chainsaw chains, and how do they affect performance?
Chain types vary by tooth configuration and cutting application. Full-chisel chains cut fastest in clean wood. Semi-chisel chains are better suited for handling dirty conditions, and low-profile chains reduce kickback risks. Choose chains based on intended applications. Professional cutting requires aggressive chain designs. Whereas homeowner applications benefit from safety-oriented chains. Furthermore, match chain specifications to your chainsaw exactly.
How do I know if my chainsaw chain is too worn to sharpen?
Examine cutting tooth length and shape carefully. Excessively short teeth cannot be sharpened effectively. For instance, uneven wear patterns indicate the need for replacement, and damaged tie straps necessitate a complete chain replacement. Measure the remaining tooth material before attempting to sharpen. Insufficient material prevents proper sharpening angles. Moreover, cracked or broken components compromise chain integrity. Furthermore, safety concerns override economic considerations.
What happens if I use a chainsaw chain that is too loose or too tight?
Loose chains derail during cutting operations. This creates immediate safety hazards for operators. In reality, derailed chains damage guide bars permanently. Furthermore, loose chains provide poor cutting control. Tight chains strain engine components unnecessarily. Excessive tension causes premature bearing failure. Tight chains generate excessive heat buildup. Additionally, over-tensioning significantly reduces chain life.
Is it necessary to replace the guide bar when changing the chain?
Guide bars typically last longer than individual chains. Inspect bar condition during chain replacement procedures. Worn bar rails damage new chains immediately. Replace bars showing excessive wear patterns. Quality guide bars handle multiple chain replacements. Proper maintenance extends bar life significantly. Regular cleaning prevents premature wear. Professional inspection determines replacement necessity.
How can I prevent my chainsaw chain from stretching prematurely?
Proper tensioning prevents excessive chain stretch. New chains require break-in periods with careful monitoring. Adequate lubrication reduces stretching significantly. Avoid over-tensioning during initial use. Quality chains stretch less than cheaper alternatives. Invest in reputable chain manufacturers. Instead, proper storage prevents rust-related stretching. Regular maintenance extends chain life substantially.
Can I use a chainsaw chain from a different brand on my chainsaw?
Chain compatibility depends on pitch and gauge specifications. These measurements must match your chainsaw exactly. Drive link count must correspond to bar length. Furthermore, incorrect chains create safety hazards immediately. Verify specifications before purchasing replacement chains. Reputable dealers provide compatibility information. Subsequently, manufacturer recommendations ensure optimal performance. Incorrect chains void warranty coverage completely.