You are about to learn something very important about your chainsaw. This is how to put the chain on correctly. Properly installing the chainsaw chain in the correct orientation is the key. It ensures your saw cuts smoothly. It also keeps you safe. Many people ask, "Which way does the chain go on a chainsaw?" or "What direction does a chainsaw chain go?" This guide will answer those questions clearly. It will help you understand how your chainsaw chain works. Then you will know how to put it on correctly every time.
1. Understanding Chainsaw Chains
Before you can put the chain on correctly, it helps to know what a chainsaw chain is made of. Understanding its parts will make the job much easier for you.
Components of a Chainsaw Chain
A chainsaw chain is a complex part. It has many small pieces that work together.
Drive Links: These are the rectangular parts that fit into the groove of the guide bar and engage with the sprocket to drive the chain.They fit into the guide groove of the guide bar. They also fit into the sprocket that drives the chain. They are very important for making the chain move.
Cutting Teeth: These are the sharp parts of the chain. They do the actual cutting. Each tooth has a sharp edge. This edge slices into the wood.
Depth Gauges: These are small bumps in front of each cutting tooth. They control how deep the tooth can cut into the wood. This stops the tooth from biting too much wood at once.
Rivets: These are small metal pins. They hold all the chain parts together. They let the chain bend and move freely.
Tie Straps: These are the flat metal pieces. They connect the drive links and the cutting teeth. They hold the chain together on the top and sides.
Side Plates: These are part of the cutting teeth. They form the body of the tooth. They guide the tooth through the wood.
Gaps: These are the spaces between the different parts of the chain that allow for flexibility and movement, enabling the chain to navigate around the guide bar smoothly.
How the Components of a Chainsaw Chain Work Together
All these parts work as a team. The drive links fit into the bar and the sprocket. The engine spins the sprocket. This makes the drive links pull the chain around the guide bar. As the chain moves, the cutting teeth slice into the wood. The depth gauges make sure the teeth do not cut too much at once. The rivets and tie straps hold everything tight. This lets the chain move smoothly and cut well. This is how your chainsaw cuts wood.
2. Importance of Chainsaw Chain Orientation
The direction your chainsaw chain faces is very important. It affects how well your saw cuts. It also affects how safe you are. Many people wonder, "Are chainsaw chains directional?" The answer is a clear yes.
How Chain Orientation Affects Cutting Efficiency
If your chainsaw chain is on the right way, the cutting teeth will bite into the wood. They will pull wood chips out. This allows for a smooth and efficient cut. If the chain is installed backwards, the teeth will not effectively cut, leading to poor performance and potentially causing excessive wear or damage to the chainsaw. Instead, they will scrape the wood. This makes the saw work very hard. It cuts very slowly. It also makes a lot of dust instead of chips. So, the way the teeth face is key for good cutting.
Safety Risks of Incorrect Chain Installation
Putting the chain on the wrong way is very dangerous. Avoiding incorrect installation is crucial because it can lead to accidents, injuries, and damage to the chainsaw or the material being cut.
Increased Risk of Chain Detachment: If the chain is backwards, it does not sit right in the bar. This can make the chain jump off the bar while you are cutting. This is very dangerous.
Potential for Kickback Incidents: A backwards chain can cause the saw to suddenly jump back towards you. This is called kickback. It can cause serious injury. This is a key reason why you need to understand the direction the teeth face on a chainsaw.
Reduced Cutting Efficiency and Control: When the chain is wrong, the saw struggles to cut. This means you have less control over the saw. This makes accidents more likely.
Damage to the Chainsaw: Running a chainsaw with the chain on backwards puts a lot of stress on the engine and the bar. This can cause parts to break down faster. It can also lead to costly repairs.
Increased Wear and Tear: The chain itself will wear out very quickly if it is backwards. The bar will also wear out faster. This means you will need to buy new parts sooner.
Risk of Mechanical Failure: The extra stress from a backwards chain can cause major parts of the chainsaw to fail. This can happen suddenly. It is a very serious risk.
3. Step-by-Step Guide to Identify Chain Orientation
You need to know which way the chainsaw chain goes. Here is a simple guide to help you.
Step 1: Examine the Chain for Markings or Indicators
Look closely at your chainsaw chain. Some chains have small arrows or other marks. These marks show the correct direction of travel. These are usually found on the side plates of the cutting teeth. Always check for these first. They are the easiest way to tell.
Step 2: Identify the Cutting Teeth and Filing Direction
The cutting teeth are the most important part to check. Each tooth has a sharp cutting edge. This edge points in the direction the chain should spin. The sharp edge should face the top of the guide bar. It should also point away from the chainsaw body.
Consider that the saw cuts wood by digging into it, so the cutting teeth must be positioned to face the correct direction for effective cutting.
The teeth should be digging into the wood as the chain moves forward. The filing direction is also a clue. The top plate of the cutting tooth is usually angled. This angle should point towards the direction of rotation.
Step 3: Check the Chain's Curvature and Link Arrangement
Hold a section of the chain in your hand. Look at its natural curve. The chain is designed to move around the guide bar in one direction. The drive links should fit smoothly into the bar's groove. If the chain feels stiff or does not want to curve naturally in one direction, it might be backwards. Also, the shape of the cutting teeth themselves is important. They are angled to scoop wood chips.
Step 4: Observe the Drive Links and the Chain’s Contact with the Bar
When you put the chain on the guide bar, the drive links must fit perfectly into the bar's groove. The bottom edge of the cutting teeth should sit flat against the bar. If the chain is backwards, the drive links will not sit right. The cutting teeth will also not sit flat. This is a clear sign that the chain is on the wrong way.
Step 5: Confirm the Chain Rotation Direction
Once you have looked at the teeth and how the chain sits, you can confirm the direction. The chain should smoothly rotate around the guide bar, moving away from the chainsaw body on the top side and towards the body on the bottom side during operation. This is the correct direction for a chainsaw chain.
4. Different Types of Chainsaw Chains and Their Correct Orientation
There are different kinds of chainsaw chains. Each one is made for certain jobs. Knowing which way a chainsaw chain goes depends on the type.
Standard Chains
Standard chains are the most common type. They are good for general cutting. The cutting teeth on these chains are designed to cut across the grain of the wood. The sharp edge of the cutting tooth should always point towards the tip of the guide bar. This is the direction the chain spins when cutting. The angled top plate of the cutting tooth also points in the direction of rotation.
Skip Tooth Chains
The cutting teeth must point towards the tip of the bar. They must also point away from the chainsaw body. This makes sure they dig into the wood correctly.
Ripping Chains
Ripping chains are special. They are used for cutting wood along the grain. This is often done when milling lumber. The cutting teeth on ripping chains are ground at a different angle than standard chains. This allows them to make a smoother cut along the wood grain. Despite the different grind, the correct orientation is still the same. The sharp cutting edge of the teeth must point towards the tip of the guide bar. This is the direction of travel.
Low-Profile Chains
Low-profile chains,such as Newbeny 12-inch chainsaws,are smaller and lighter. They are often found on smaller chainsaws. They are good for light cutting and pruning. They are commonly used for lighter tasks, pruning, and are suitable for users of varying experience levels, including beginners.
The cutting teeth on low-profile chains are smaller. However, their orientation is the same as other chains. The sharp edge of the tooth must point towards the tip of the bar. This is the way the chain should spin. It is important to check the specific details for different brands.
Semi-Chisel Chains
semi-chisel chains, such as Newbeny 16-inch chainsaw, have rounded corners on their cutting teeth. This makes them less likely to dull quickly. They are good for cutting dirty wood or in dusty conditions. They stay sharp longer than full-chisel chains. Their orientation is also standard. The sharp part of the tooth points towards the tip of the bar. This is the direction of rotation.
Low-Profile + Semi-Chisel Chains
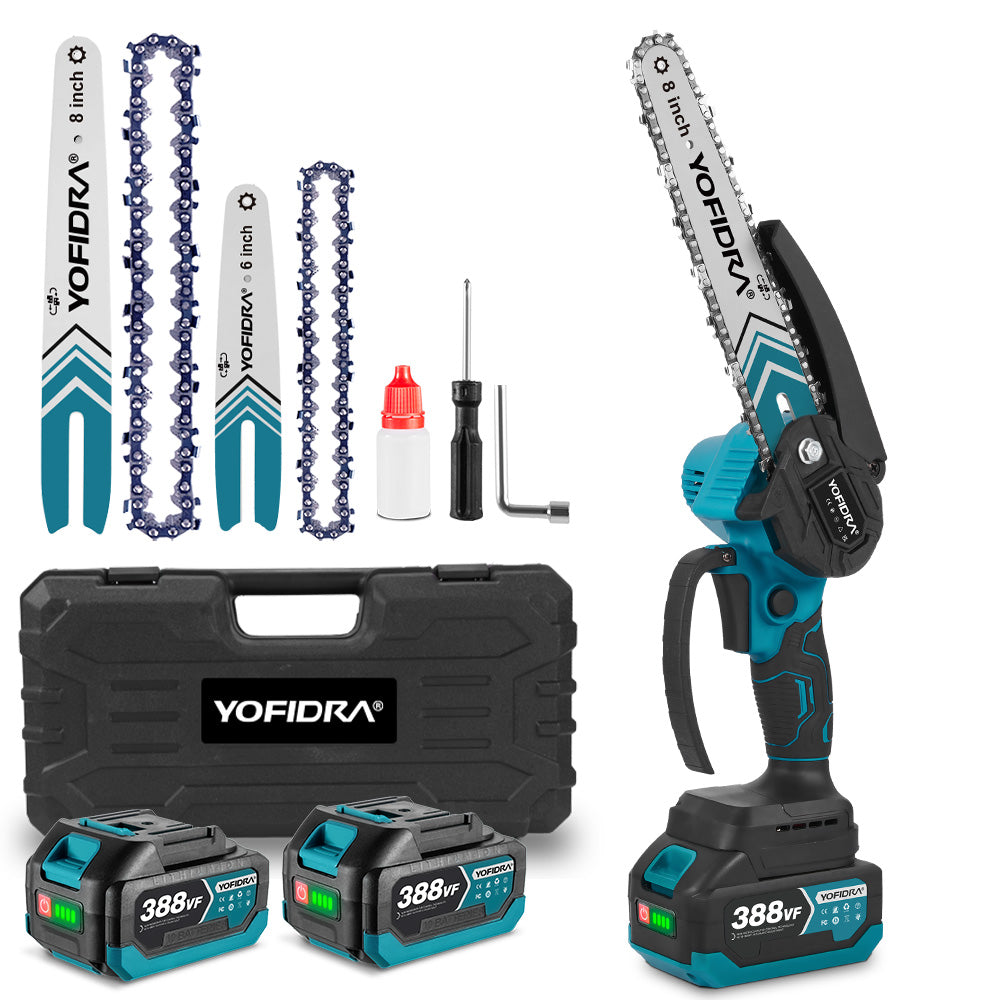
The low-profile + semi-chisel chain, such as the Newbeny 6-inch and 8-inch chainsaw models, offers a blend of lightweight handling and durable, resistant-to-dulling cutting teeth. It is an ideal choice for homeowners, gardening enthusiasts, and professionals who need a reliable, easy-to-control chain for light-duty or precision cutting tasks. For this chains, the rule is the same. The cutting teeth must face the direction of rotation. This means they point towards the tip of the guide bar.
5. How to Recognize and Correct Incorrect Chainsaw Chain Installation
It is easy to put a chainsaw blade on the wrong way. But your saw will tell you if you do. Here are signs that the chainsaw chain is installed backward.
Poor Cutting Performance
Description: The chainsaw will not cut wood easily. It will feel like it is dragging or just scraping the surface. You will have to push very hard to make it cut.
Cause: The cutting teeth are facing the wrong way. They cannot bite into the wood. Instead, they just rub against it.
Unusual Sparks or Smoke
Description: You might see more sparks than usual when cutting. You might also see smoke coming from the chain or the bar. This happens even when the chain is oiled.
Cause: The backwards teeth create a lot of friction. This makes heat. This heat causes sparks and smoke.
Excessive Wear or Damage to the Chain
Description: The chain will wear out very fast. The cutting teeth might get dull quickly. The drive links might also show signs of damage.
Cause: The chain is not working as it should. It is being forced against the wood incorrectly. This causes abnormal rubbing and stress.
Chain Jumps or Gets Stuck During Operation
Description: The chain might jump off the guide bar. It might also get stuck in the wood very easily. This can make cutting smoothly difficult, particularly when working with denser wood or in challenging conditions.
Cause: The drive links are not sitting properly in the bar's groove. This happens because the chain is backwards.
Abnormal Noise or Vibration
Description: The chainsaw will make strange noises. It might whine or grind. You will also feel more shaking than normal when you use it.
Cause: The chain is not moving smoothly. It is fighting against the wood and the bar because it is in the wrong direction.
Kickback or Unexpected Reverse Motion
Description: The saw might suddenly jump back towards you. This is very dangerous. It can happen without warning.
Cause: The backwards teeth can catch on the wood. This forces the saw to push back violently. This is a very serious safety risk.
Significant Drop in Performance
Description: The chainsaw will feel much weaker than it should. You maintain your chain by keeping it sharp, ensuring proper lubrication, and adjusting the tension as needed.
Cause: The engine is working harder than it needs to. The chain is not doing its job of cutting. This wastes power.
Visual Inspection: Incorrect Installation
Description: If you look closely at the chain, you will see that the cutting teeth are pointing towards the chainsaw body on the top side of the bar. They should point away.
Cause: The chain was put on the guide bar in the wrong direction. The sharp edges are facing the wrong way for cutting.
6. How to Safely Remove and Reinstall the Chainsaw Chain When It Is Not in the Correct Direction
If you find your chainsaw chain is on the wrong way, you need to fix it right away. Here is how to do it safely.
Step 1: Prepare and Prioritize Safety
Turn Off the Chainsaw: First, turn off the engine. If it is a gas saw, also remove the spark plug wire. If it is electric, unplug it or remove the battery. This prevents the saw from starting accidentally.
Wear Protective Gear: Always put on your safety gloves. You should also wear eye protection. This protects your hands and eyes from the chain.
Allow Components to Cool: If you have just used the chainsaw, the bar and chain might be hot. Let them cool down for a few minutes. This stops you from getting burned.
Step 2: Remove the Chain Cover
Locate the Chain Cover Bolts: Find the nuts or bolts that hold the chain cover in place. These are usually on the side of the chainsaw body.
Use Appropriate Tools: Use the wrench that came with your chainsaw. Or, use another suitable power tool to loosen these nuts or bolts.
Remove the Cover Carefully: Once loose, take off the chain cover. Be careful not to lose any small parts.
Step 3: Remove the Chain from the Guide Bar
Release Chain Tension: Find the chain tensioning screw. This is usually near the guide bar. Turn it counter-clockwise to loosen the chain. Make the chain very loose.
Lift the Chain off: Gently lift the chain off the guide bar. Start from the sprocket end near the chainsaw body. Then, slide it off the rest of the bar.
Inspect the Chain and Guide Bar: While the chain is off, take a moment to clean any sawdust or debris. Also, check the guide bar for any damage or wear.
Step 4: Determine the Correct Orientation
Identify the Cutting Edges: Look at the cutting teeth on the chain. The sharp, angled edge is the cutting edge. This edge must point away from the chainsaw body. It must point towards the tip of the guide bar. This is the direction of cut.
Look for Manufacturer Markings: As mentioned before, some chains have small arrows. These arrows show the correct direction. Always check for these.
Compare with the Saw's Rotation: When the chainsaw runs, the chain moves away from the body on the top side of the bar. It moves towards the body on the bottom side. The cutting teeth must be set to cut in this forward motion.
Step 5: Reinstall the Chain Correctly
Position the Chain: Start by looping the chain around the drive sprocket. This is the gear near the chainsaw body.
Align the Drive Links: Carefully fit the drive links into the groove of the guide bar. Work your way around the entire bar. Make sure all the drive links are seated correctly.
Check the Chain Movement: Once the chain is on the bar, gently pull it by hand. It should move smoothly around the bar. The cutting teeth should be pointing in the correct direction.
Step 6: Tension the Chain Properly
Adjust the Chain Tension: Use the tensioning screw to tighten the chain. You want it snug. It should not be too tight. A good rule is that you can pull the chain up slightly in the middle of the bar. It should snap back into place when you let go. You should not be able to pull the drive links completely out of the bar groove.
Double-Check Alignment: After tensioning, quickly check again. Make sure the chain is still sitting correctly in the bar groove. Also, make sure the teeth are facing the right way.
Step 7: Reassemble and Final Checks
Replace the Chain Cover: Put the chain cover back on. Tighten the nuts or bolts firmly.
Test the Chain Movement: Before starting the saw, pull the chain around the bar by hand one more time. It should move freely.
Inspect for Unusual Sounds or Vibrations: Start the chainsaw. Let it idle for a moment. Listen for any strange noises. Feel for any unusual shaking. If everything sounds and feels normal, you are ready to cut.
7. Conclusion
You have learned a lot about chainsaw chains. Knowing which way a chainsaw chain goes is not just about cutting better. It is about staying safe. Always take the time to check the chain's direction. Make sure it is installed correctly. Follow all safety practices. Keep up with maintenance tips. This will help ensure your chainsaw operates effectively and safely, contributing to its longevity and reliability. It will also keep you safe for many years of use.
8. FAQs
How do I know if my chainsaw chain is installed correctly?
You can tell if your chainsaw chain is on the right by checking the cutting teeth. They should point away from the chainsaw body towards the tip of the bar. The chain should also move smoothly around the bar.
What are the different types of chainsaw chains and their uses?
There are standard chains for general cutting, skip tooth chains for larger wood, ripping chains for cutting along the grain, and low-profile chains for lighter tasks. Semi-chisel chains are also common.
How often should I replace my chainsaw chain?
You should replace your chainsaw chain when the cutting teeth are too worn to sharpen, typically indicated by visible damage, dullness, or cracks, and should be checked regularly to ensure safety and performance. You should also replace it if it has cracks or damage.
What tools do I need to change a chainsaw chain?
You will usually need the wrench that came with your chainsaw. You might also need a flathead screwdriver for tensioning.
How do I maintain my chainsaw chain for longevity?
You maintain your chain by keeping it sharp, ensuring it has enough oil, and maintaining the right tension. You also should clean it regularly, especially after heavy use or when cutting in dirty or dusty conditions, to ensure optimal performance.
What is the difference between a full chisel and a skip tooth chain?
A full chisel chain has sharp, square-cornered teeth for fast cutting. A skip tooth chain has fewer teeth with larger gaps. This helps clear chips in bigger cuts.


